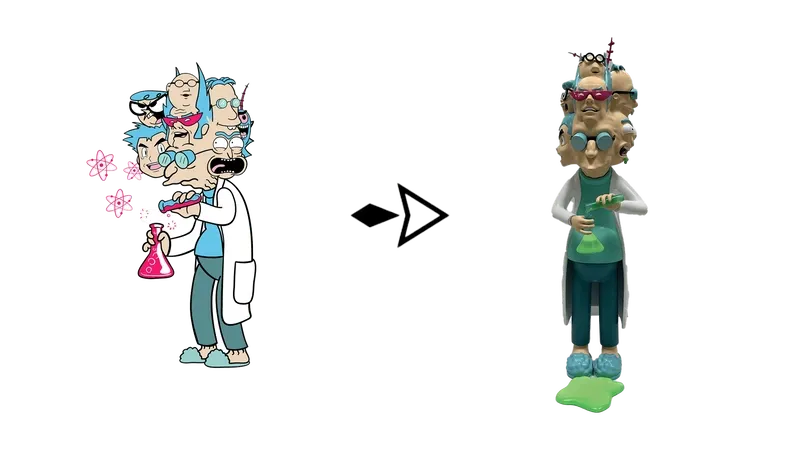
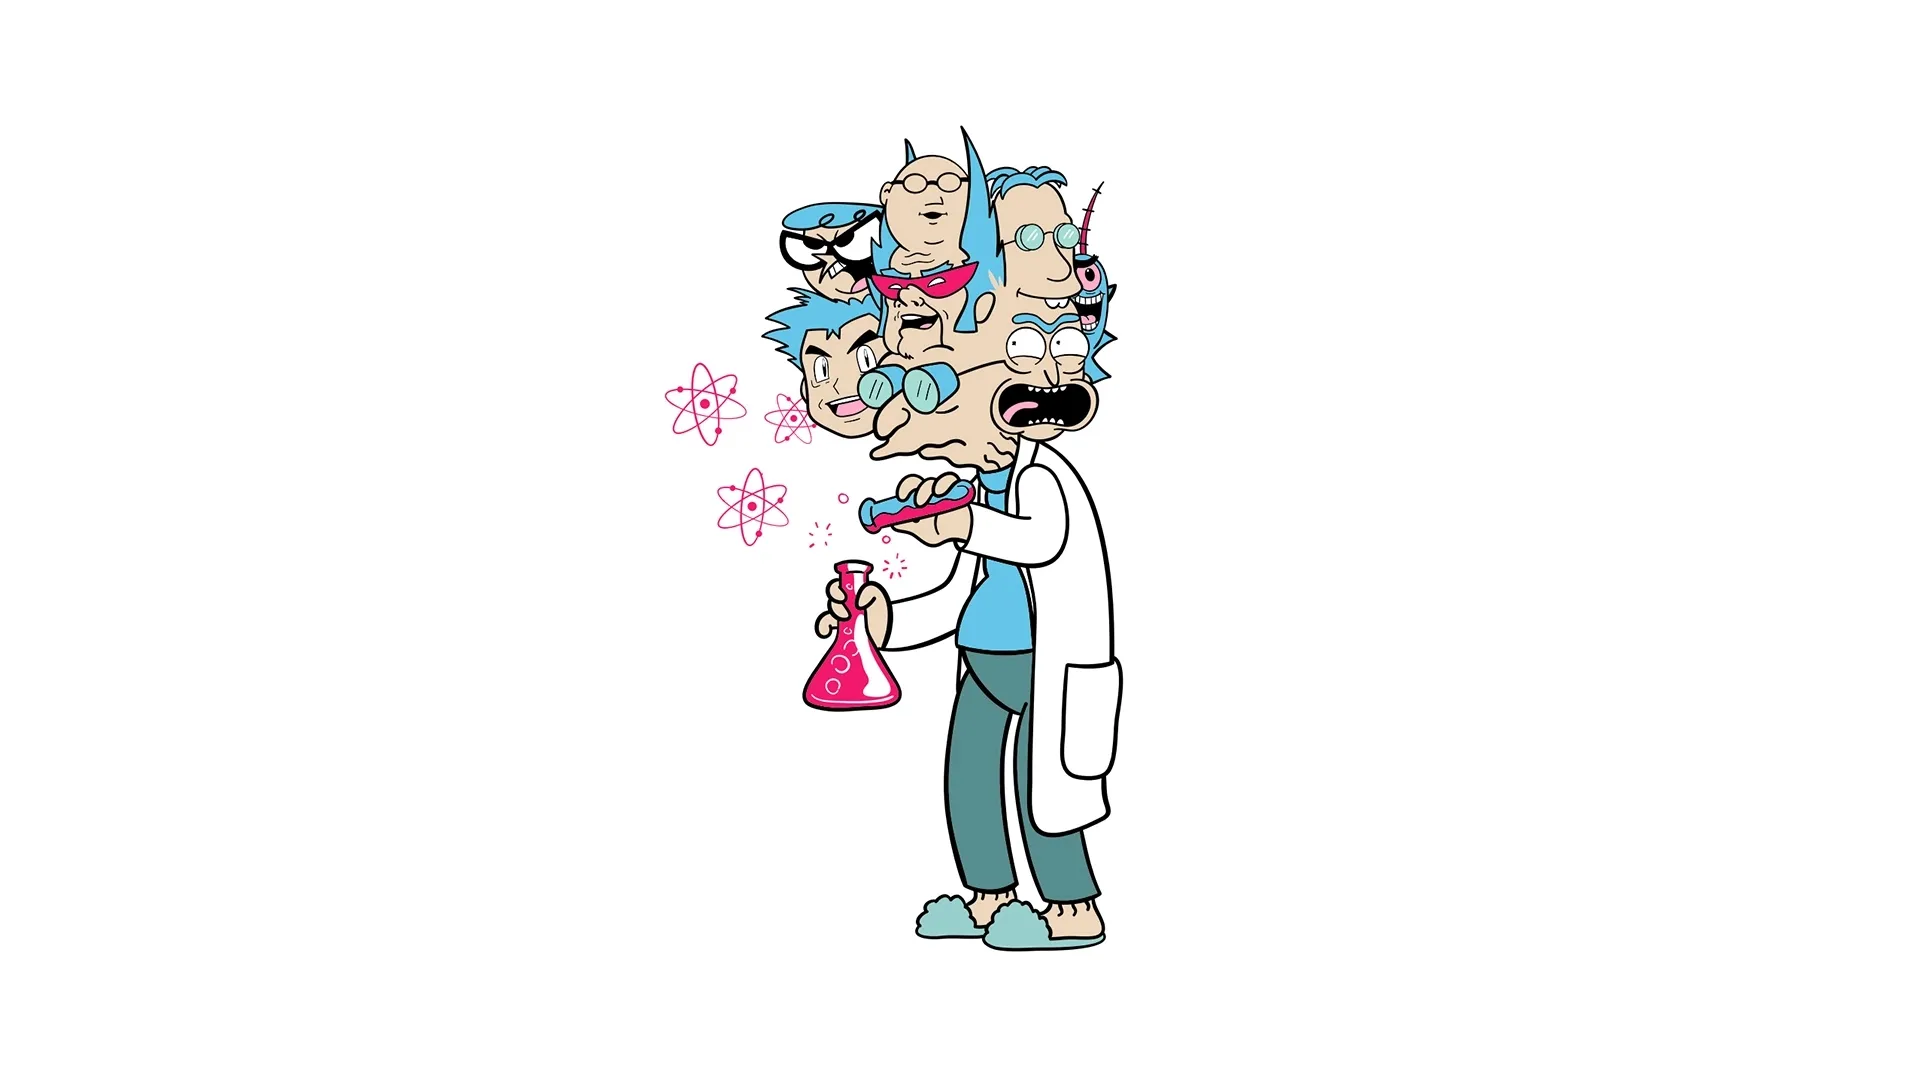
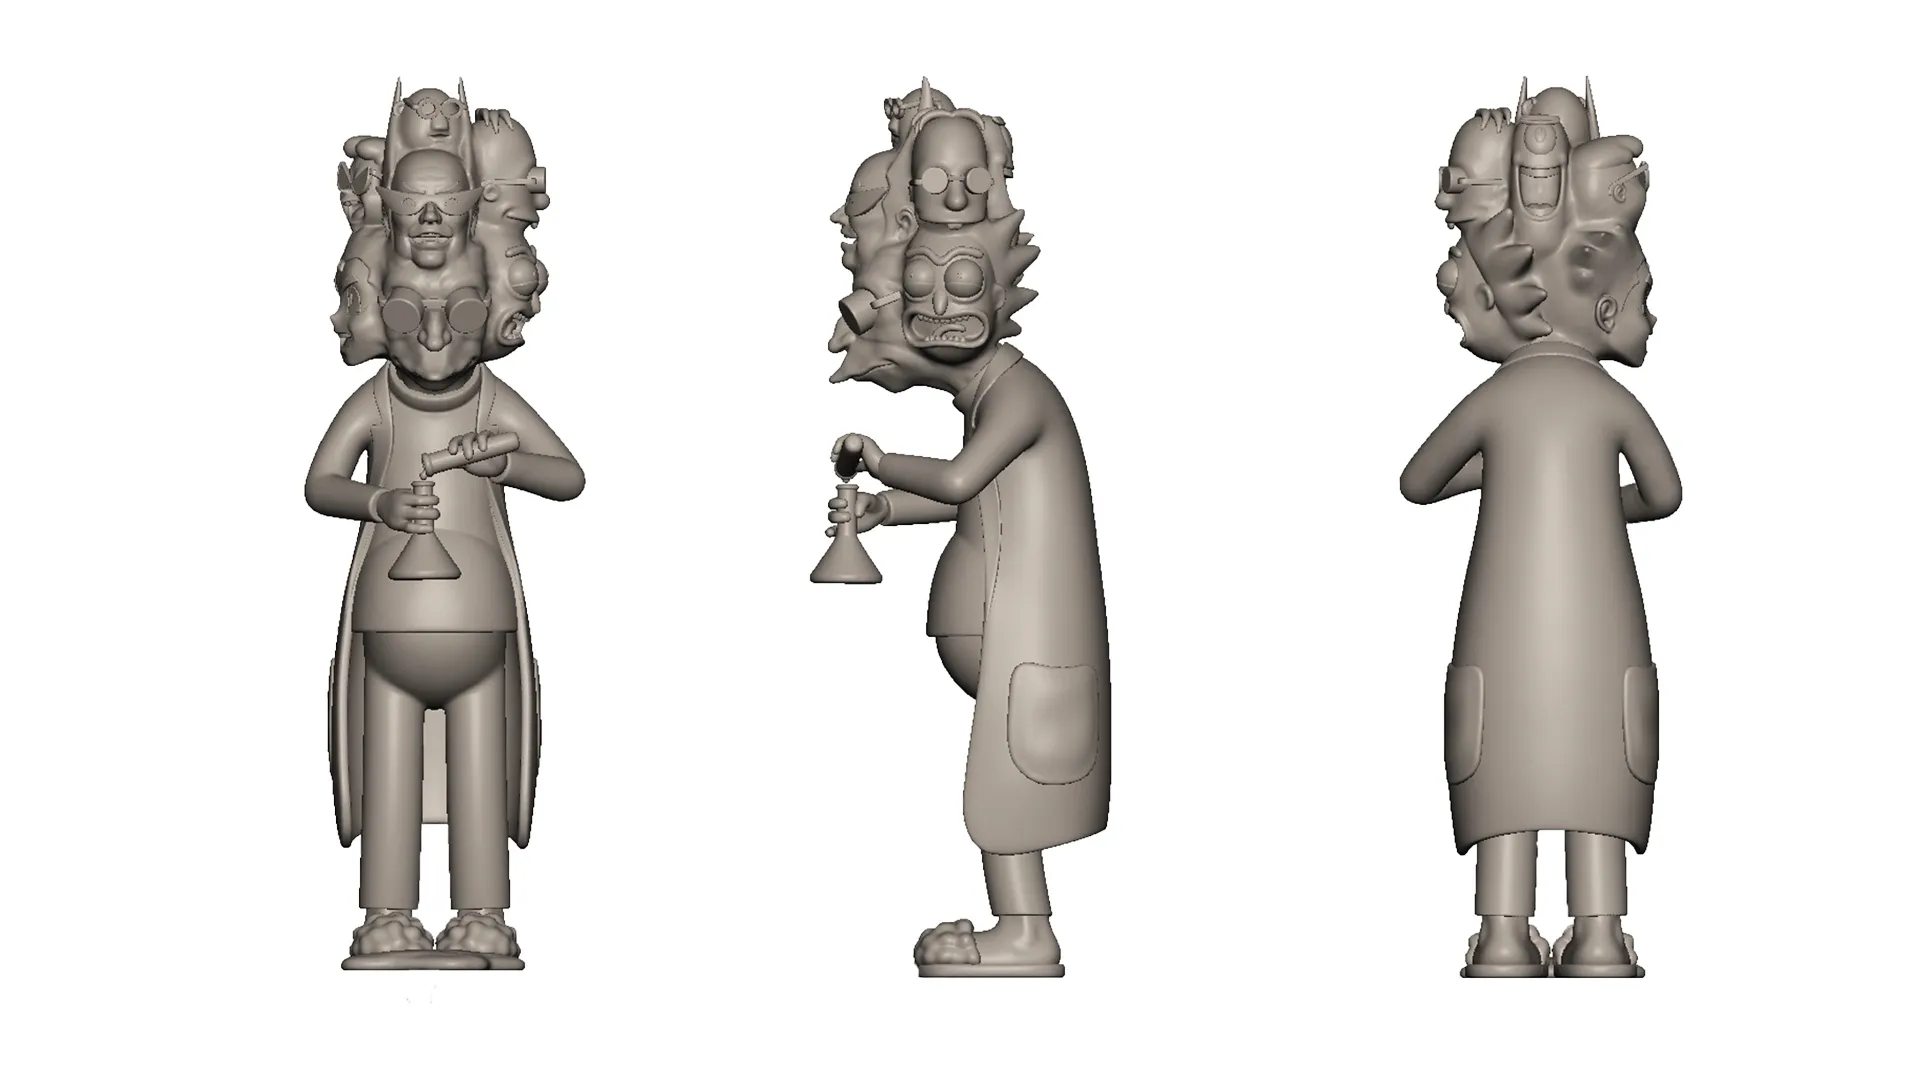
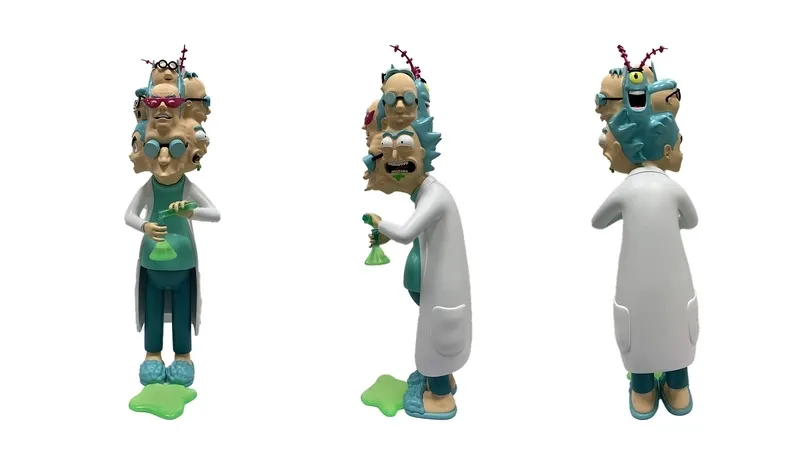
You don’t need 3D modeling skills to design a vinyl figure. Clean 2D concept art (front, side, back views plus color references) is sufficient. Our factory sculptors handle 3D conversion.
Successful vinyl toy design balances artistic expression with manufacturing practicality: recognizable shapes at small scale, a limited color palette (5–10 colors), and minimal undercuts.
Prototyping costs USD 200–500 and takes 7–21 days. Reserve 1–2 revision rounds in your timeline and budget.
Common design pitfalls: excessive small separate parts, heavy undercuts, thin protruding features, and adjacent colors with low distinguishability at small scale.
Standard vinyl figure sizes: 3–4 inches for blind boxes, 5–7 inches for designer art toys, and 8–12 inches for premium collectibles.
How Do You Design a Vinyl Figure for Manufacturing?
Vinyl toy design differs from artwork created for other mediums. A character that looks stunning in 2D illustration may not translate well into a hollow 3‑inch vinyl collectible. Great vinyl toy designers account for manufacturing constraints from the start, not as an afterthought.
The good news: you don’t need to be a 3D modeler. Most vinyl toy artists start as 2D illustrators or character designers. You create concept art, and our sculptors convert it into a production‑ready 3D model. This is the standard workflow for independent vinyl toy creators.
Understanding the design process will help streamline your project and reduce production costs.
Vinyl toy design workflow: 2D Concept Art → 3D Digital Sculpt → Physical Prototype
The Vinyl Toy Design Process: Step by Step
Step 1: Concept Art (2D)
Start with the character or object you want to turn into a vinyl figure. Prepare concept art that includes:
Front view — main pose and facial expression
Side view — profile silhouette and depth
Back view — rear appearance of the figure
Color references — precise Pantone codes or hex values for each color zone
Target size — finished height of the figure (3–12 inches)
You don’t need professional illustration skills. Clean line art with color call‑outs is enough. Our sculptors will interpret your artwork and build the corresponding 3D model.
Step 2: 3D Modeling and Sculpting
Our team imports your 2D concept art and creates a 3D model using software such as ZBrush or 3ds Max. This stage transforms flat artwork into a physical object. The sculptor addresses key manufacturing considerations:
Mold splitting — where to split the figure into separate mold cavities
Draft angles — gentle surface tapers so the part releases cleanly from the mold
Seam line placement — parting lines between mold halves, which remain visible on finished toys
Undercut elimination — reworking geometry that would trap the part inside the mold
This phase takes 7–14 days. The sculptor shares multi‑angle 3D renders for your approval before moving to physical prototyping.
Step 3: Physical Prototype
Once you approve the 3D model, we 3D‑print a resin sample and hand‑paint it to match your color specifications. You can inspect the prototype in hand, verify proportions, then approve the design or submit revision requests.
This is the most critical quality checkpoint. Fixing issues at the prototype stage costs USD 50–150. Making changes after mold production begins can cost USD 200–1,000.
Step 4: Design for Manufacturing (DFM) Review
After prototype approval, we conduct a DFM review to assess the design against manufacturing constraints. We may recommend adjustments including:
Merging two small parts into one to reduce mold cavities
Removing fragile thin protrusions prone to breakage during production
Simplifying color zones to cut hand‑painting time
These recommendations aim to lower production costs without compromising your design vision. Our factory has produced thousands of vinyl figures and understands what works in mass production.
What Makes a Good Vinyl Toy Design?
After working on hundreds of vinyl toy projects, these are the core traits of designs that run smoothly in production:
Clear, readable shapes at small scale. Your design must work well at 3–6 inches. Fine details that look impressive in full‑size illustrations disappear at toy scale. Prioritize bold silhouettes over tiny ornamentation.
Limited color palette. 5–10 colors is the ideal range. Every extra color zone increases hand‑painting labor and cost. Most iconic vinyl art toys use only 5–7 colors.
Strong silhouette. Your figure should be recognizable from its outline alone. If you turn the figure into a solid black shape, can you still identify it? That defines a strong silhouette.
Minimal undercuts. Undercuts are recessed geometry that locks parts inside simple molds. They require expensive multi‑part molds. Always design with mold release in mind.
No thin protruding parts. Any feature thinner than 2mm and extending more than 10mm risks breakage during rotocasting or shipping. Thicken thin elements or integrate them into the main body.
Vinyl Toy Design Tips from the Factory Floor
These practical tips help you avoid extra costs and production headaches:
Use base PVC color for large solid areas. If your figure is mostly white, use white raw PVC material and only paint accent colors. This saves hours of hand‑painting time per unit.
Group colors by contiguous zones. A head with 3 colors and body with 2 colors is manageable. Alternating fragmented colors across the whole surface makes masking extremely difficult.
Design for mold split lines. Think about where mold halves will meet. Place seam lines along natural edges — such as where clothing meets skin or where one color zone ends — so seams are less noticeable.
Test your design at actual size. Print your concept art at the target figure height (3 inches, 6 inches, etc.). Does it still look good? Can you distinguish key details? Simplify if needed.
Keep packaging in mind. If your figure will be packed in a window box, make the front view your most eye‑catching angle. For blind box releases, collectible surprise value matters more than display orientation.
Common Vinyl Toy Design Mistakes
Mistake
Why It’s a Problem
Fix
Too many small parts
Each part requires an extra mold cavity, raising tooling cost
Combine parts wherever possible
Excessive undercuts
Requires complex multi-part molds
Redesign geometry for clean mold release
Thin protruding elements
Easy to break during production or shipping
Thicken features to 2mm+ or integrate into main body
Too many colors
Increases painting time and total cost
Limit colors to 5–10 zones
Similar adjacent colors
Hard to distinguish at small toy scale
Boost color contrast between neighboring zones
Design only works in 2D
Details become unrecognizable at physical toy scale
Print concept art at actual size before mold tooling
What Size Should You Design Your Vinyl Figure?
Size impacts cost, market positioning, and design strategy. Use this guide to decide:
3–4 inches: Ideal for blind box series, collectible sets and impulse purchases. Lower production cost (USD 1–3 per unit at 1,000 pieces). Design for bold silhouettes; fine details will be lost at this scale.
5–7 inches: The standard size for designer art toys, balancing detail and cost. Per-unit cost: USD 2–5 at 500 pieces.
8–12 inches: Premium collectibles. Higher production cost (USD 5–15 per unit), supporting retail prices of USD 50–150+. This size allows more details and more assembly parts.
Want to bring your vinyl toy concept to life? Send us your 2D or 3D concept art, target figure size and desired order quantity. We will reply within 12 hours with a prototype timeline and cost estimate.
Newsletter Updates
Enter your email address below and subscribe to our newsletter