Address
304 North Cardinal
St. Dorchester Center, MA 02124
Work Hours
Monday to Friday: 7AM - 7PM
Weekend: 10AM - 5PM
Address
304 North Cardinal
St. Dorchester Center, MA 02124
Work Hours
Monday to Friday: 7AM - 7PM
Weekend: 10AM - 5PM

Custom Figure Factory
Custom Figure Factory
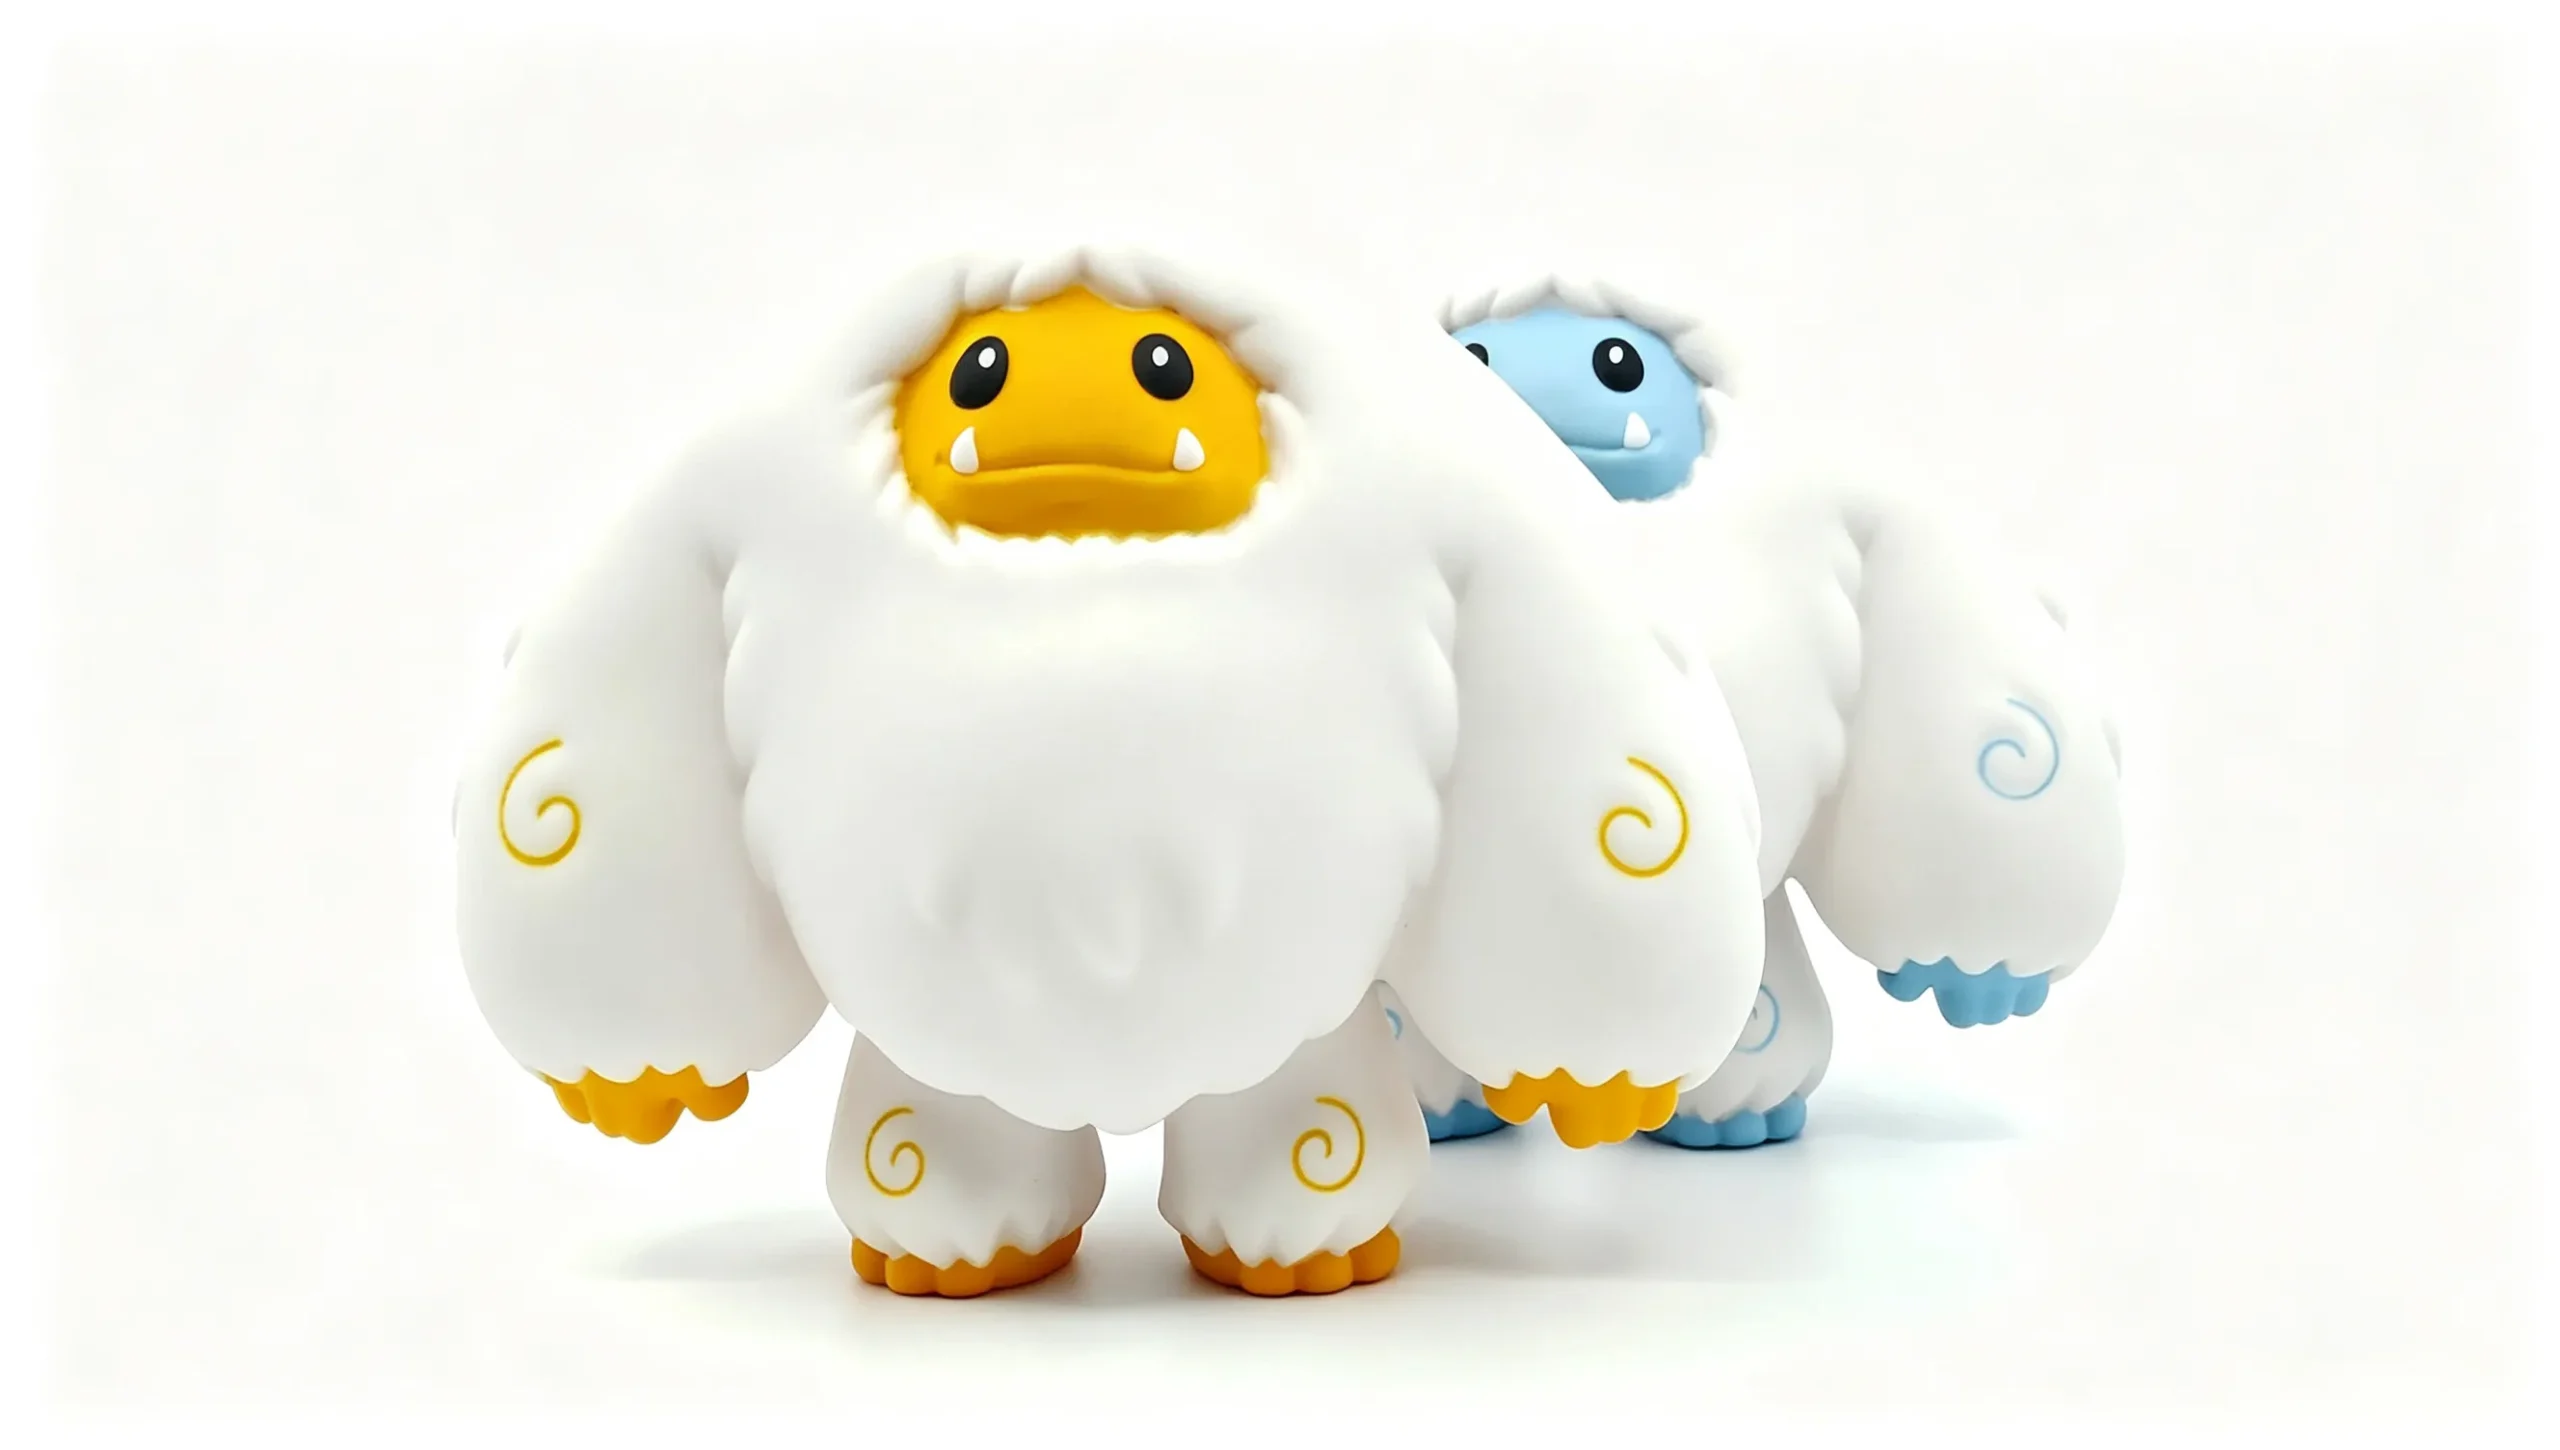
Vinyl toys are collectible figures crafted from PVC / soft vinyl through a repeatable, mold‑driven production process that strikes a balance between artistic expression and engineering precision.
1. Concept and Design
Define your character’s theme, dimensions, pose, as well as articulation features and accessories. Typical display sizes range from approximately 3‑12 inches and above.
Generate multiple orthographic views (front, side, back) to lock in proportions and fine details prior to physical sculpting or digital modelling.
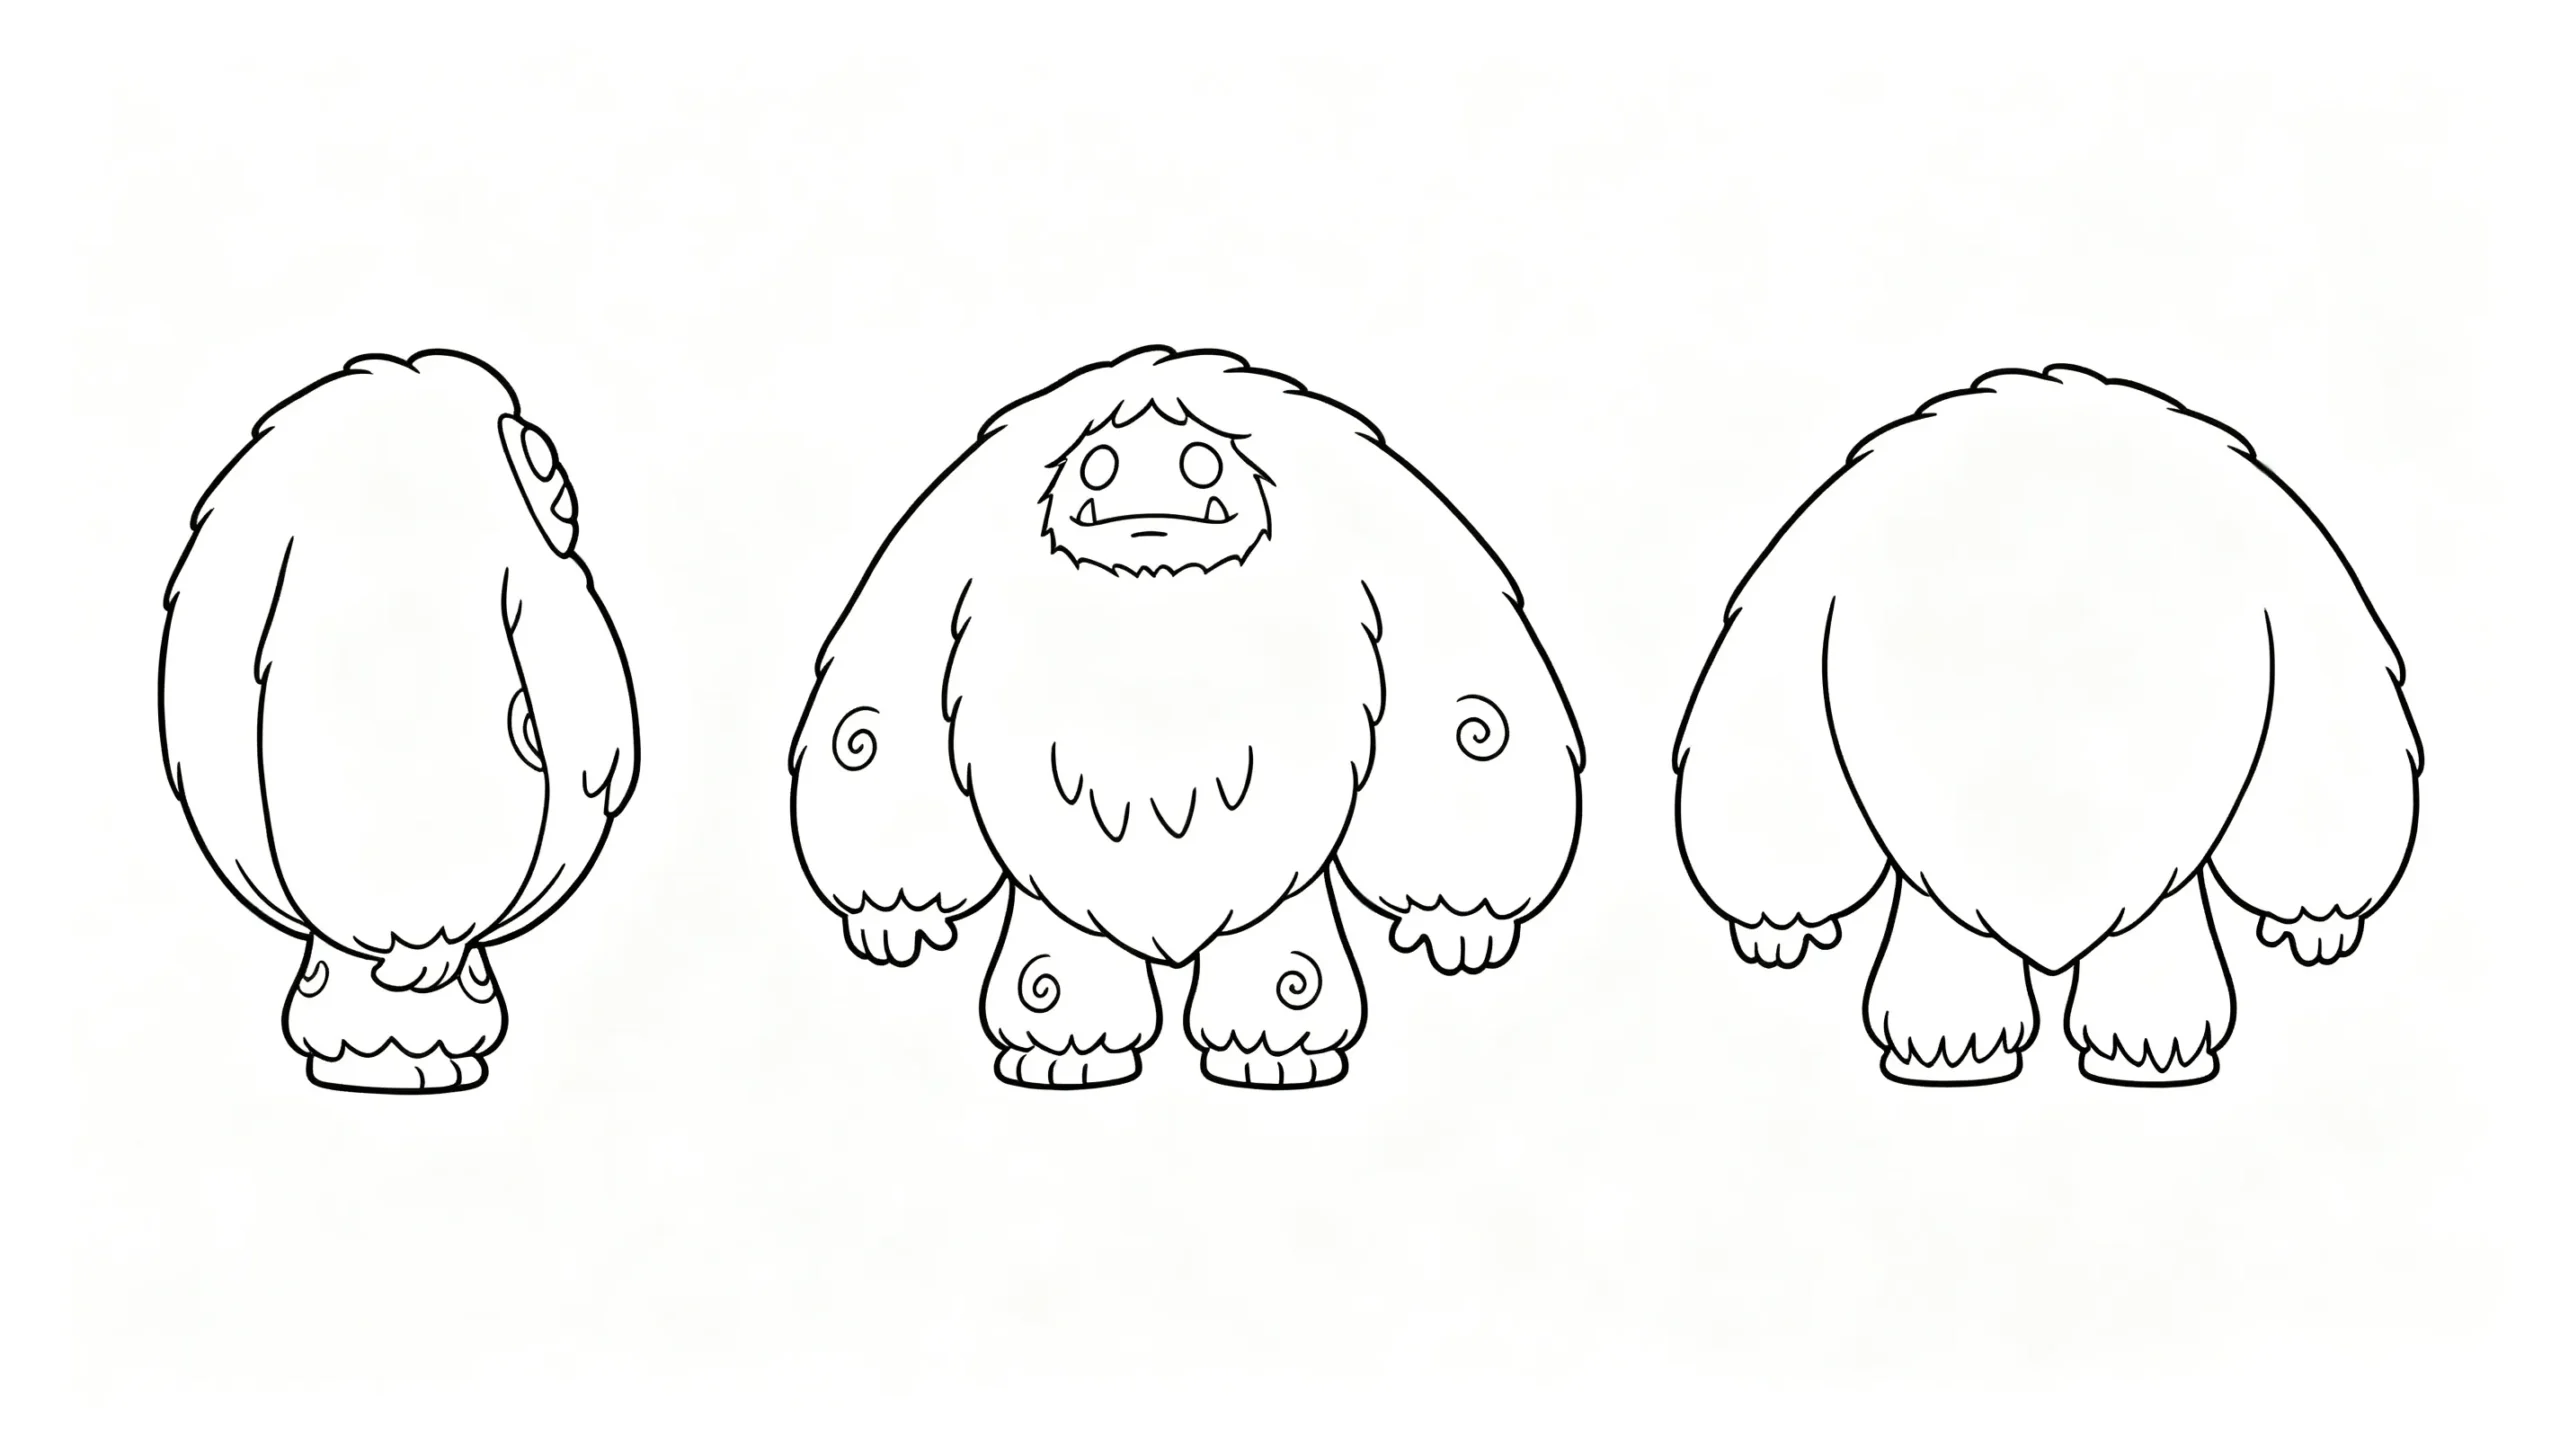
Tools: Sketchbooks and pencils for hand‑drawn concept art; digital software such as Adobe Illustrator and Procreate for concept visuals, followed by ZBrush or Blender for 3D modelling.
Production‑oriented planning: Decide at an early stage whether your vinyl toys will be static or articulated. Select target age‑group and packaging format (e.g. blind box, window box, backing card). These decisions will guide sizing, detail level and regulatory compliance requirements.
2. Prototype Development
Select your preferred production workflow:
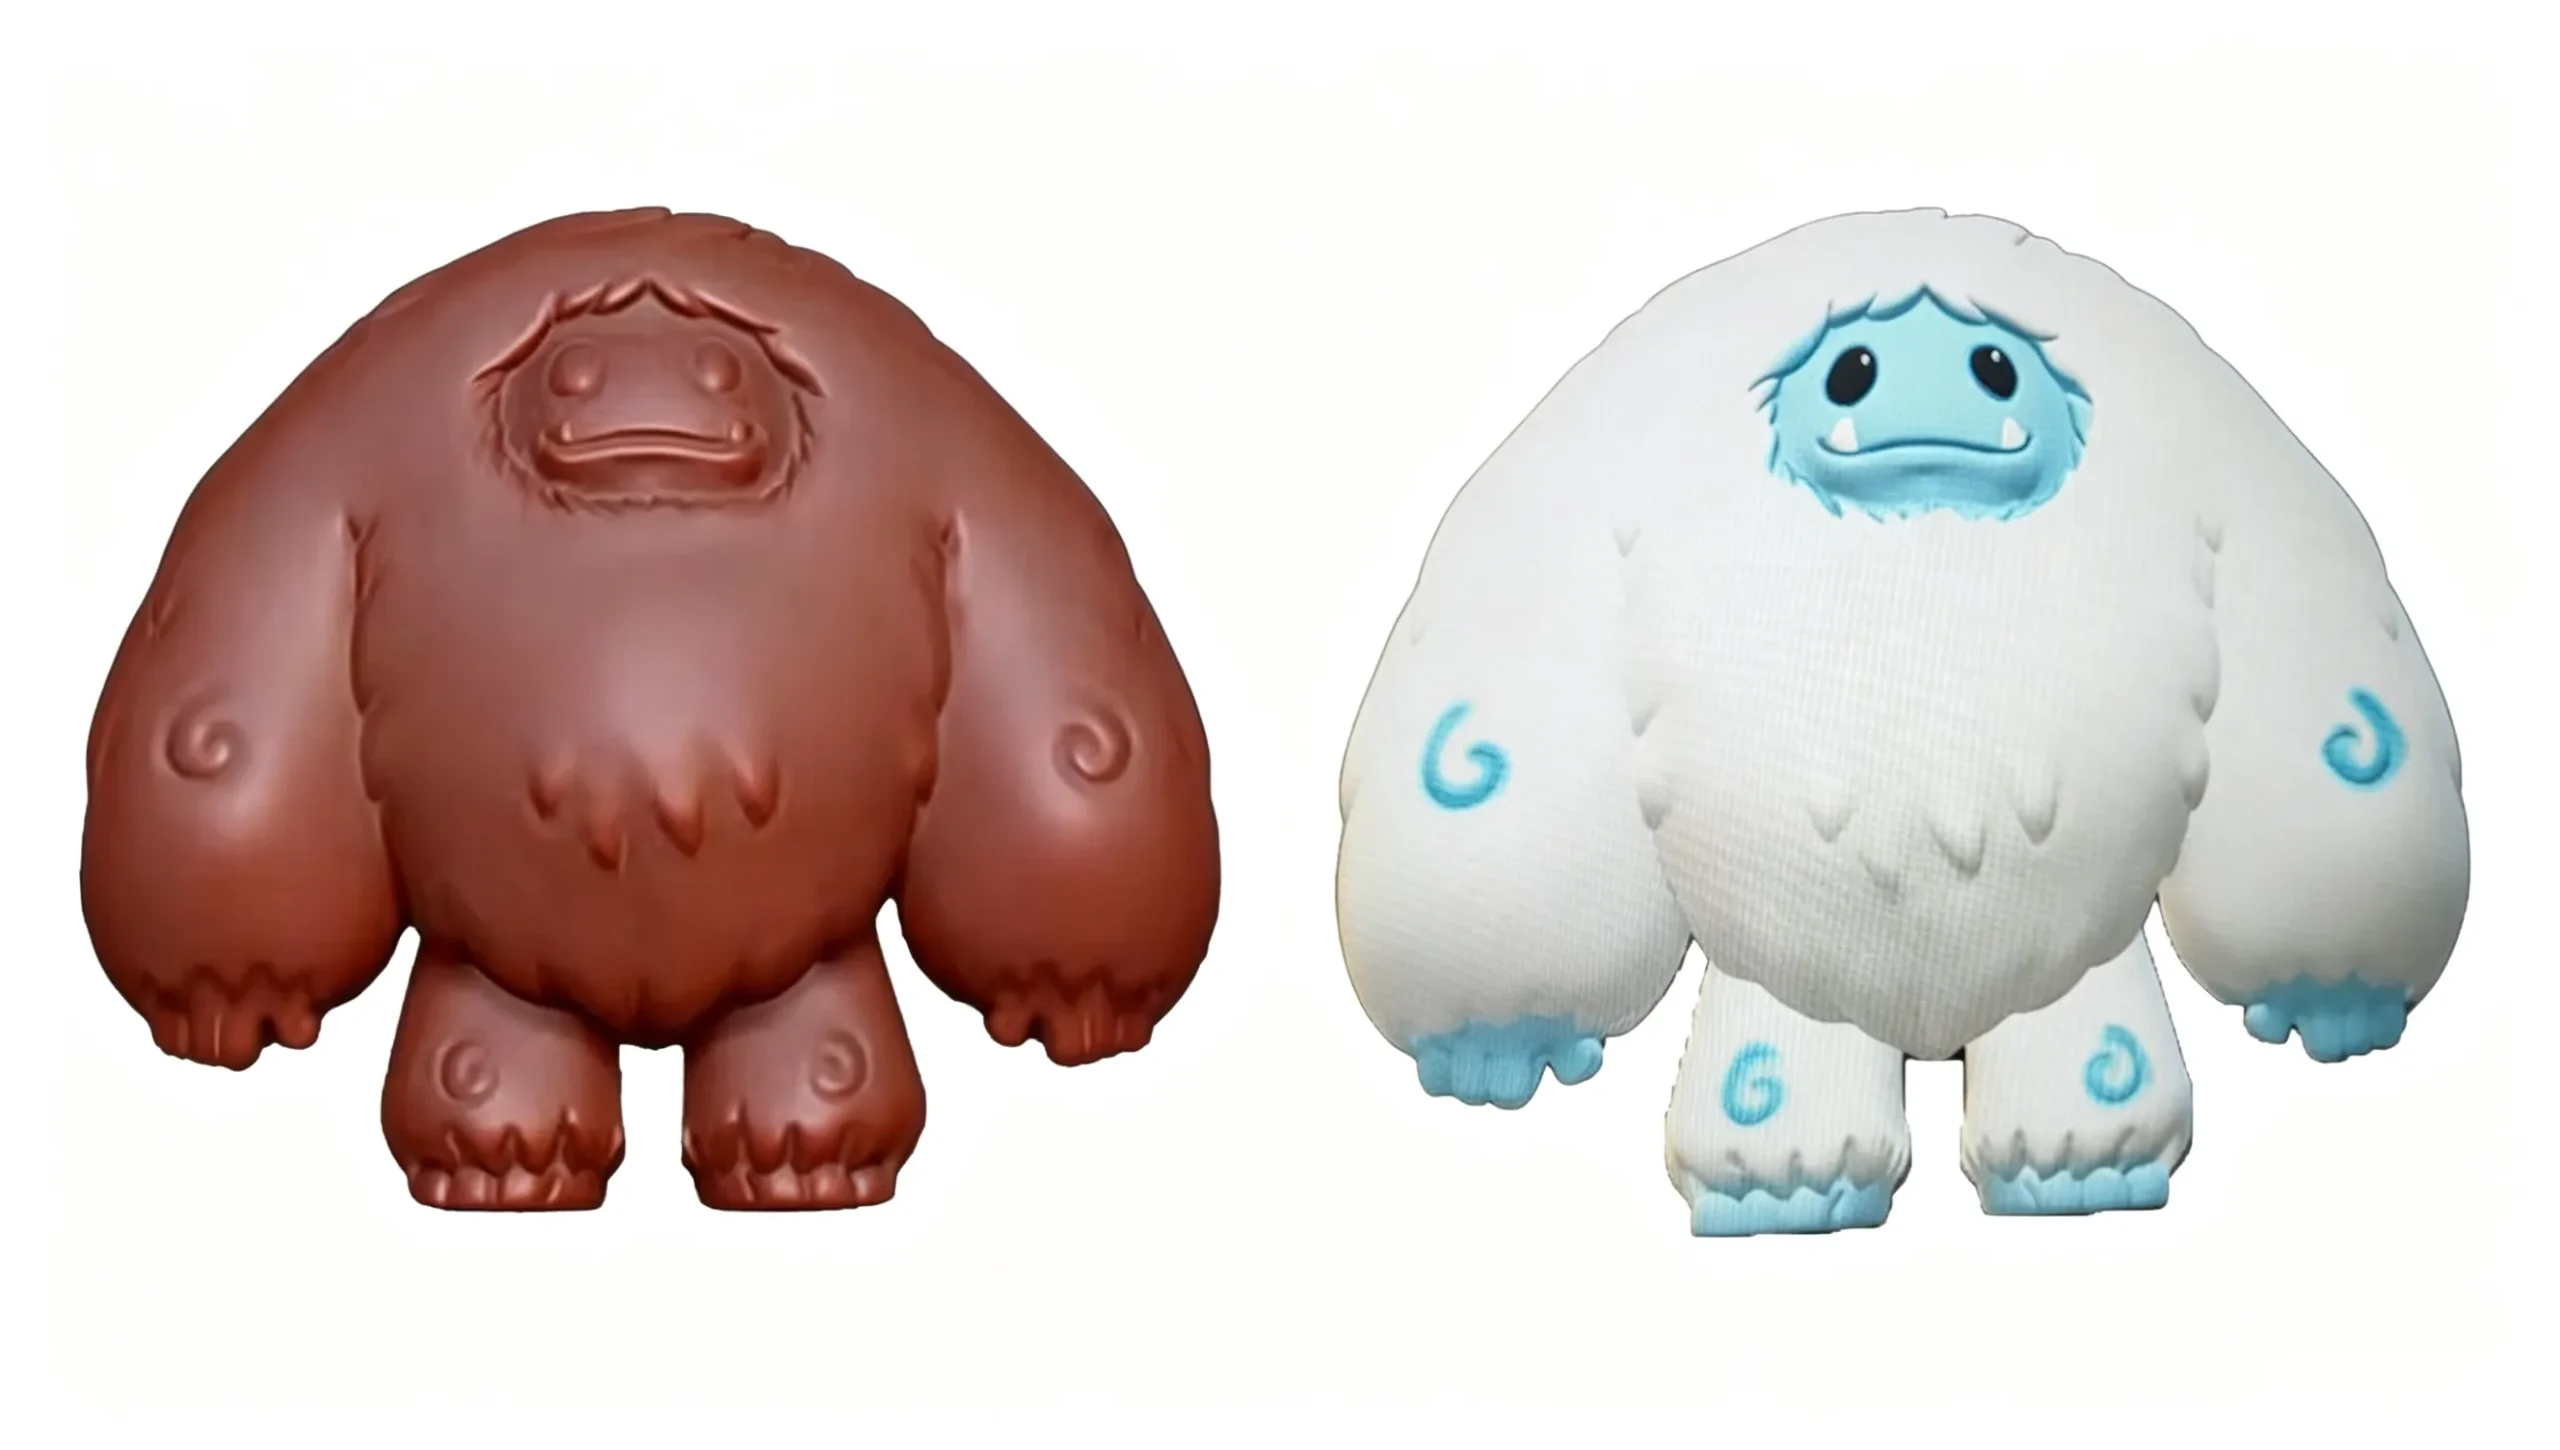
The prototype serves as your golden sample for mold fabrication. It is used to verify scale, structural balance and detail fidelity.
Iterate on the prototype until it is ready for vinyl mass‑production. Inspect parting lines, undercuts, and evaluate how colours and textures will render after moulding and painting.
3. Mold Fabrication
Prepare the master model by applying release agent to prevent adhesion.
Construct a mold box around the prototype, reserving space for silicone material.
Mix and pour silicone rubber slowly to minimize air bubbles, ensuring complete coverage of all surface details.
Allow silicone to fully cure (curing time varies by material). Demold the master after curing. Complex geometries require two‑part molds to capture undercut features.
Clearly mark sprues and parting lines to guarantee clean demoulding and consistent assembly for finished vinyl toys.
4. Vinyl Part Casting
Prepare silicone molds by applying release agent to interior surfaces.
Mix liquid PVC vinyl or alternative casting material following manufacturer specifications. Pour material into molds and tap gently to eliminate trapped air.
Once vinyl is fully cured, demold components. Trim excess flash and perform light sanding for a smooth finish.
5. Finishing, Assembly & Safety Compliance
Surface preparation: Clean and sand components, then apply vinyl‑compatible primer.
Painting: Apply acrylic paints or spray paint. For professional‑grade results, use airbrushing and build up colour layers to create depth. Apply a compatible clear sealant where required.
Assembly: Bond components using toy‑safe, high‑strength adhesive. For articulated designs, fit appropriate connectors (e.g. pins, ball joints) and conduct trial‑fit tests prior to gluing.
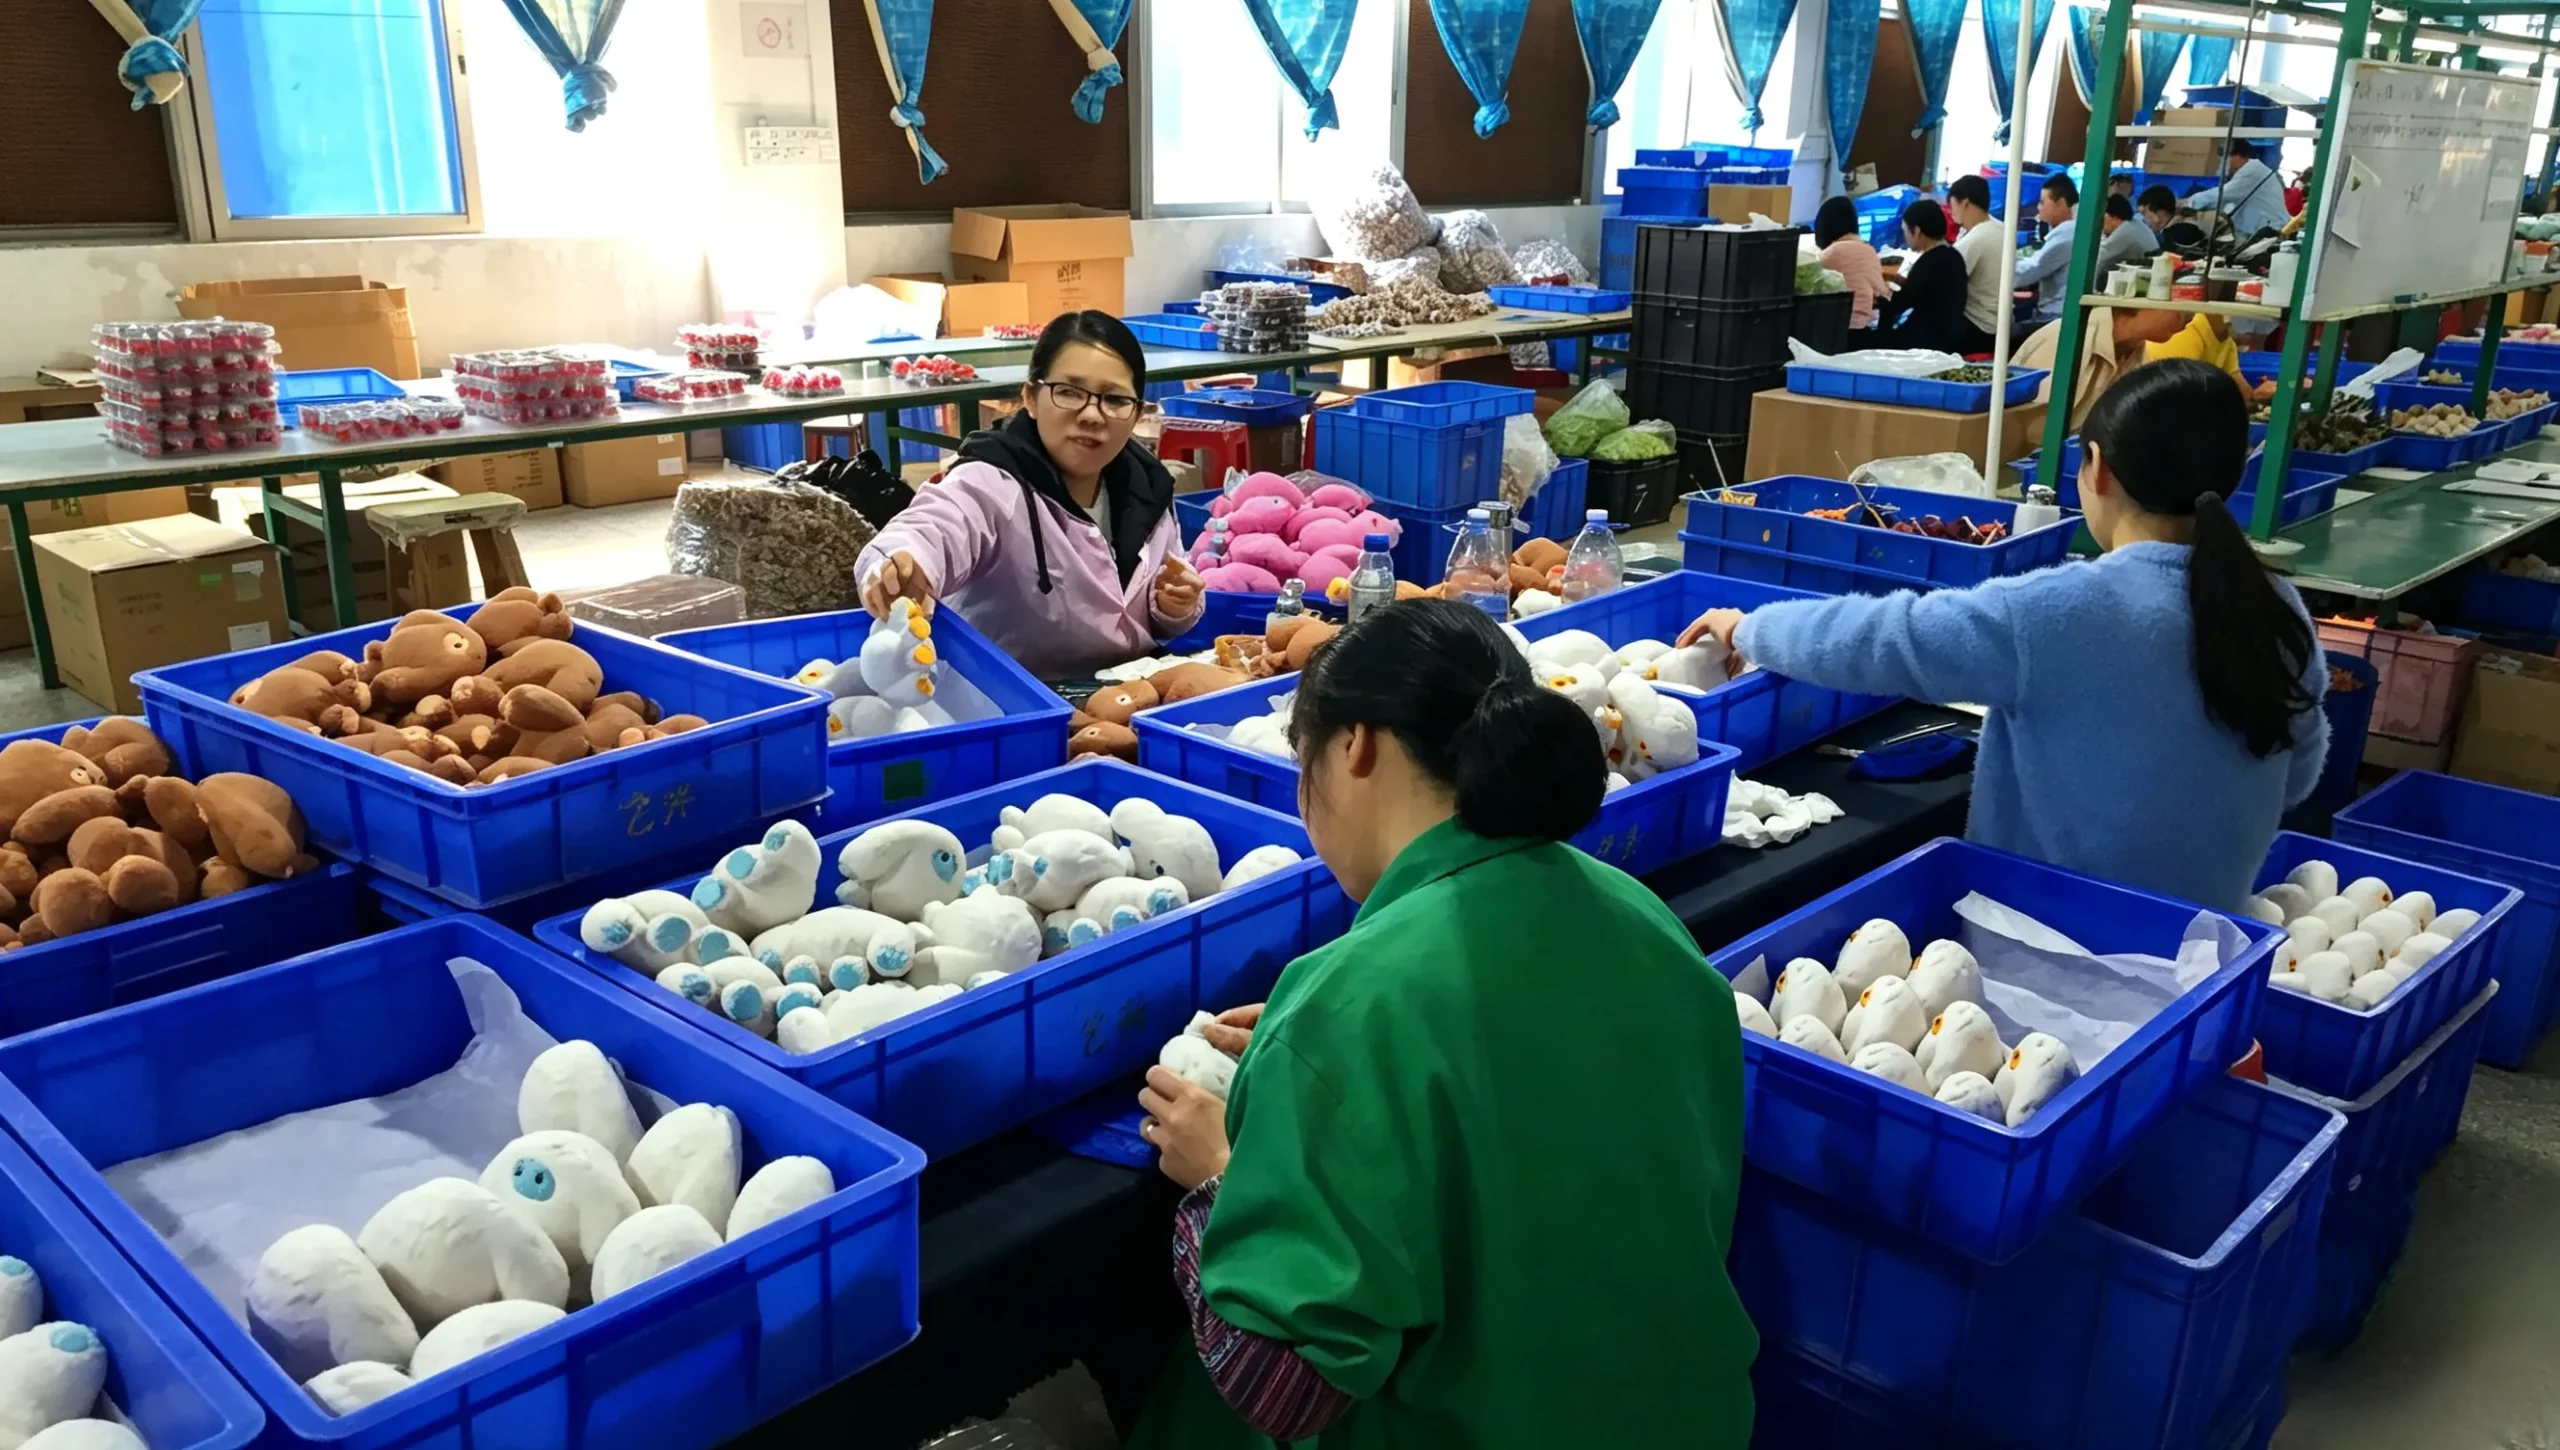
Packaging: Design illustrated backing cards or packaging boxes that match your character’s aesthetic and narrative. Good packaging enhances collectible value and retail appeal.
Safety & regulatory compliance: Identify your target age range and applicable toy safety standards (e.g. EN71, ASTM F963, CPSIA, GB 6675). Carry out mandatory testing covering small‑part hazards, sharp points/edges, flammability, mechanical and chemical safety. For mass production, partner with qualified factories and implement systematic quality‑control inspections.
