Address
304 North Cardinal
St. Dorchester Center, MA 02124
Work Hours
Monday to Friday: 7AM - 7PM
Weekend: 10AM - 5PM
Address
304 North Cardinal
St. Dorchester Center, MA 02124
Work Hours
Monday to Friday: 7AM - 7PM
Weekend: 10AM - 5PM
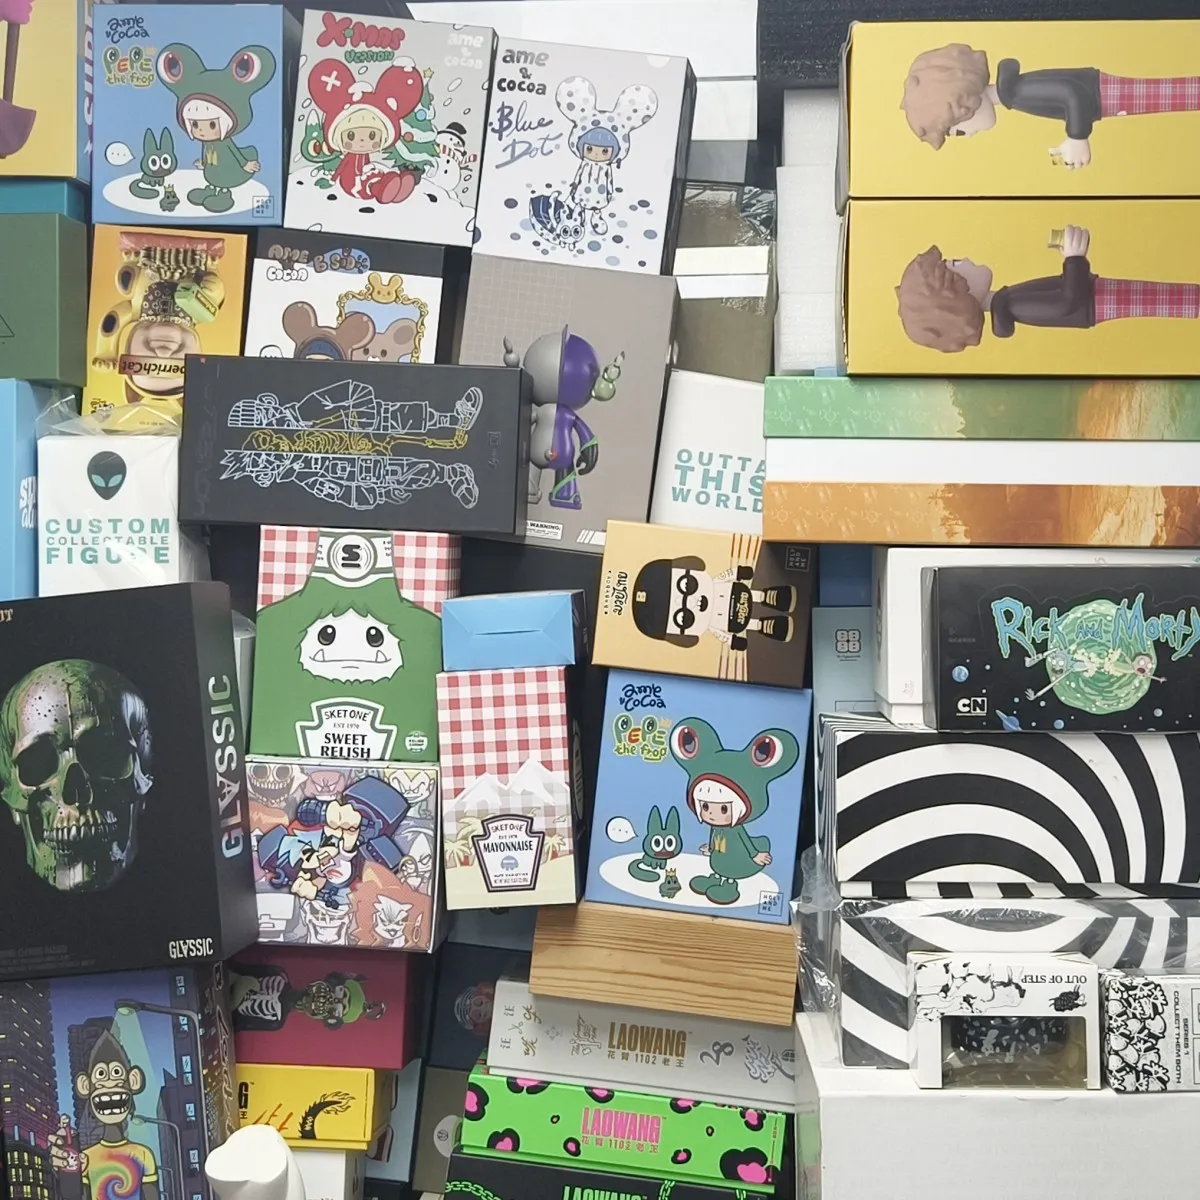
Custom Figure Factory
Custom Figure Factory
You only need to provide your design as well as the design files(Vector files are the best) for the logo and patterns, then inform us of your vinyl toy dimensions and order quantity, choose the packaging solution, and the rest will be completed by us. Throughout the entire process, you only need to participate in the quality review.
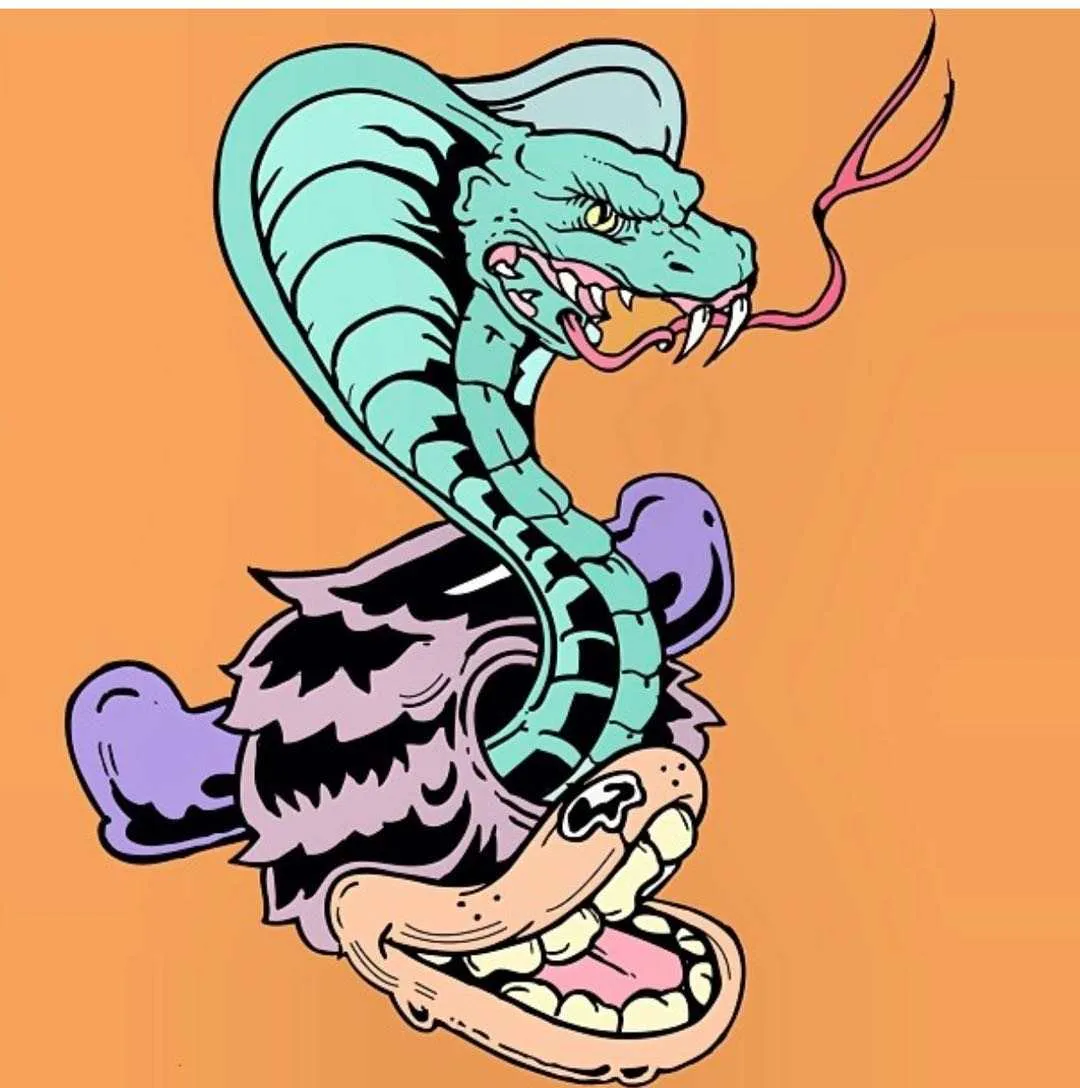
1. Provide Your Design
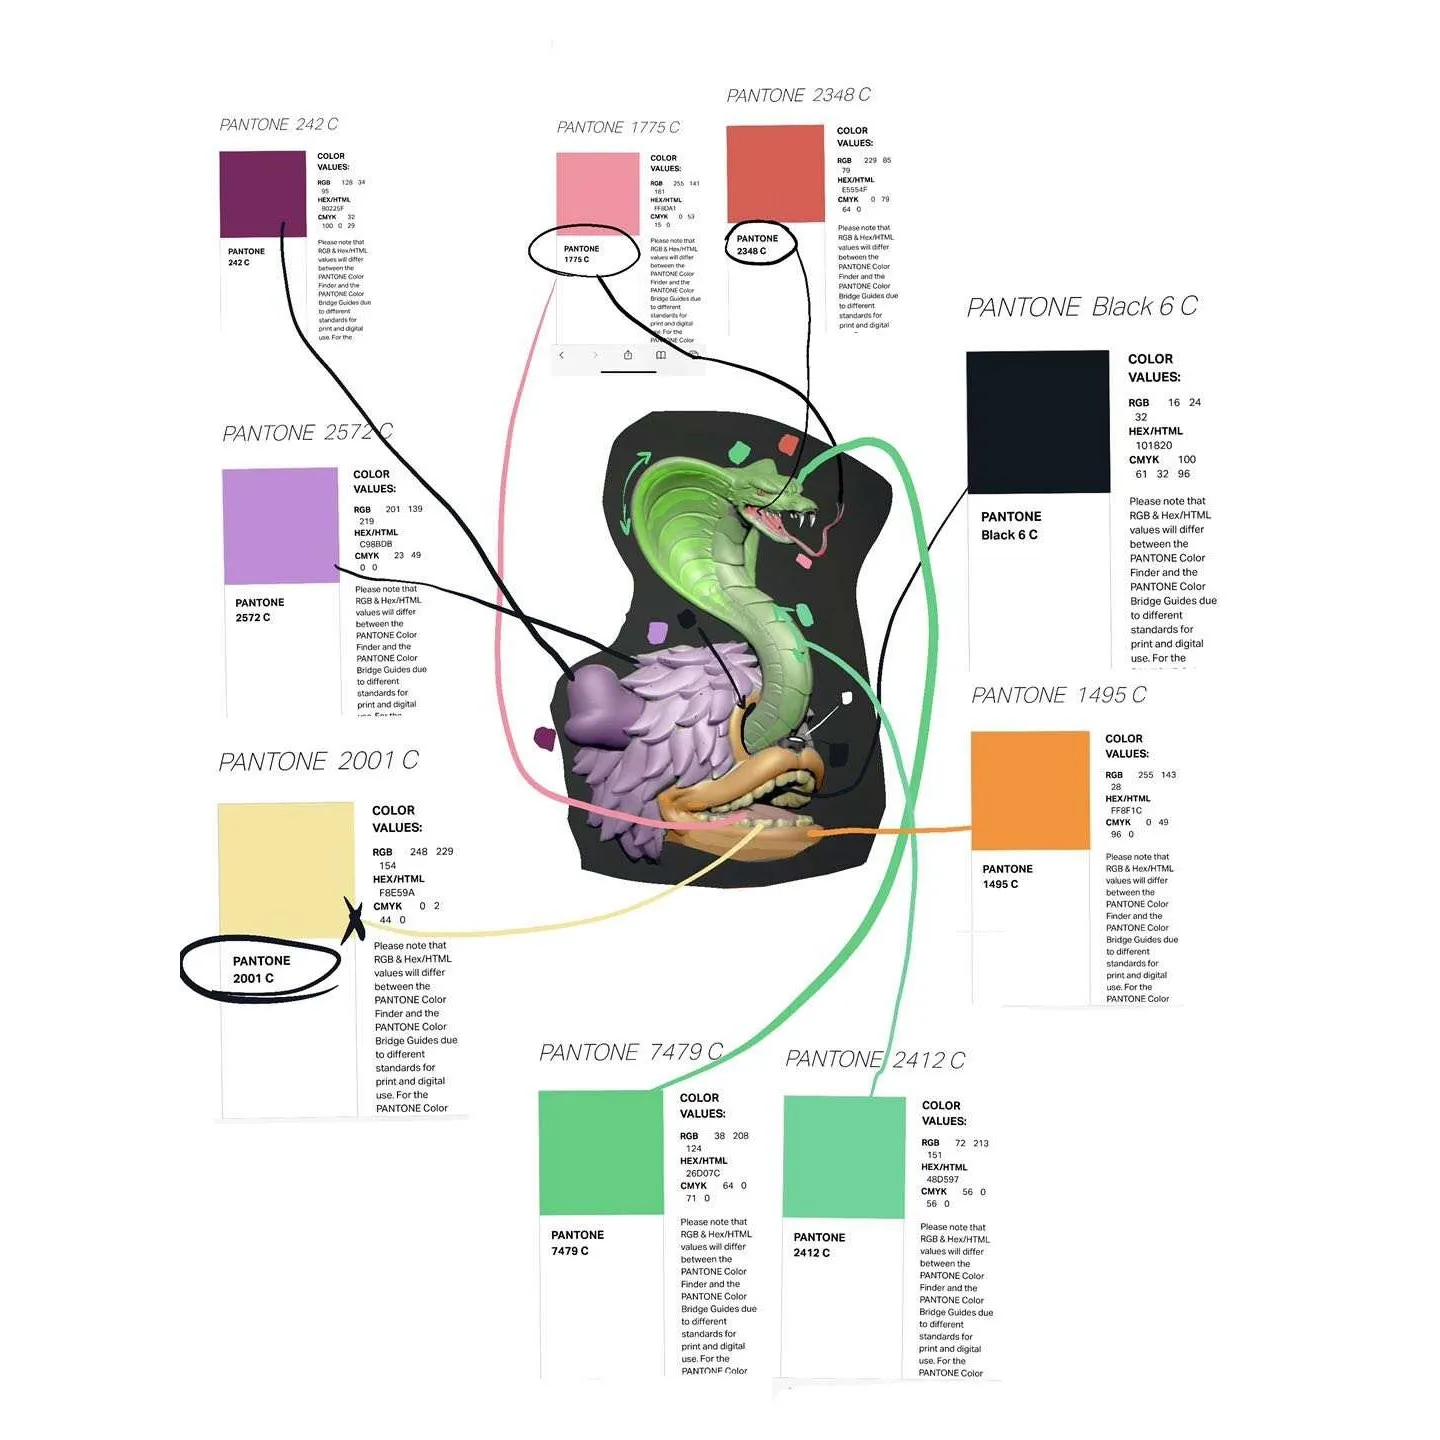
2. Provide Your Logo Files & Pantone Code
3. Provide Your Packaging Design
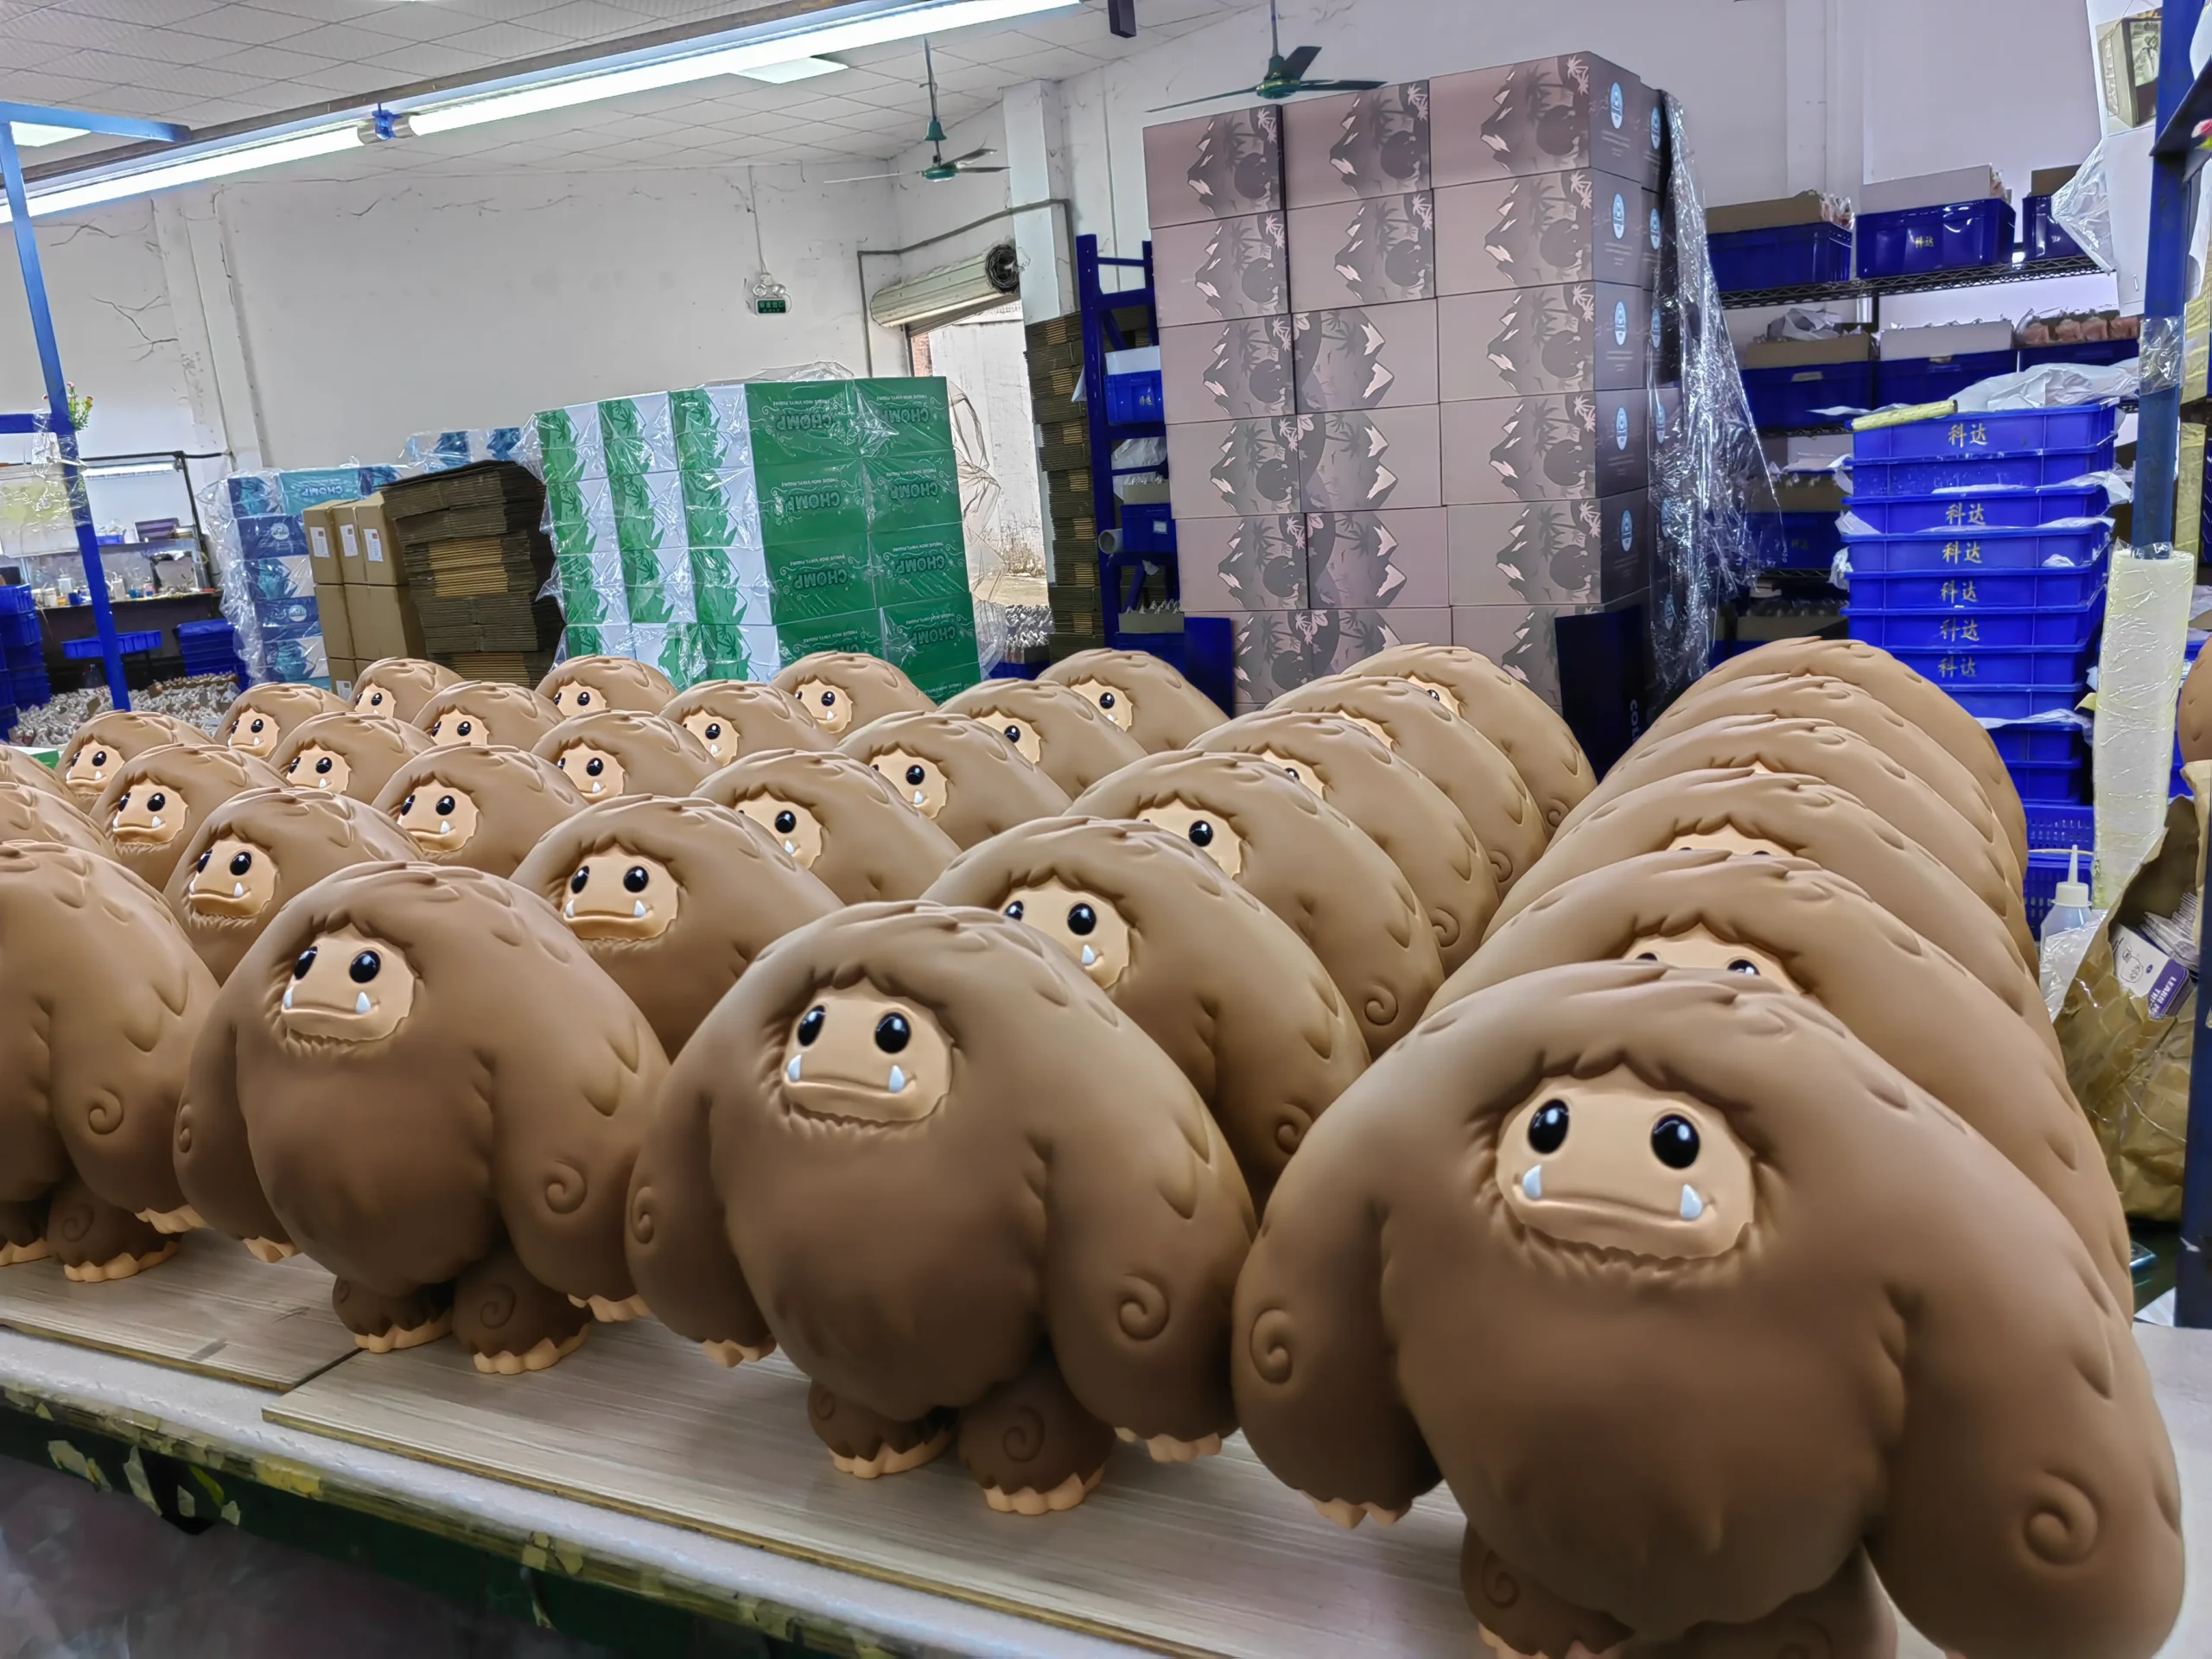
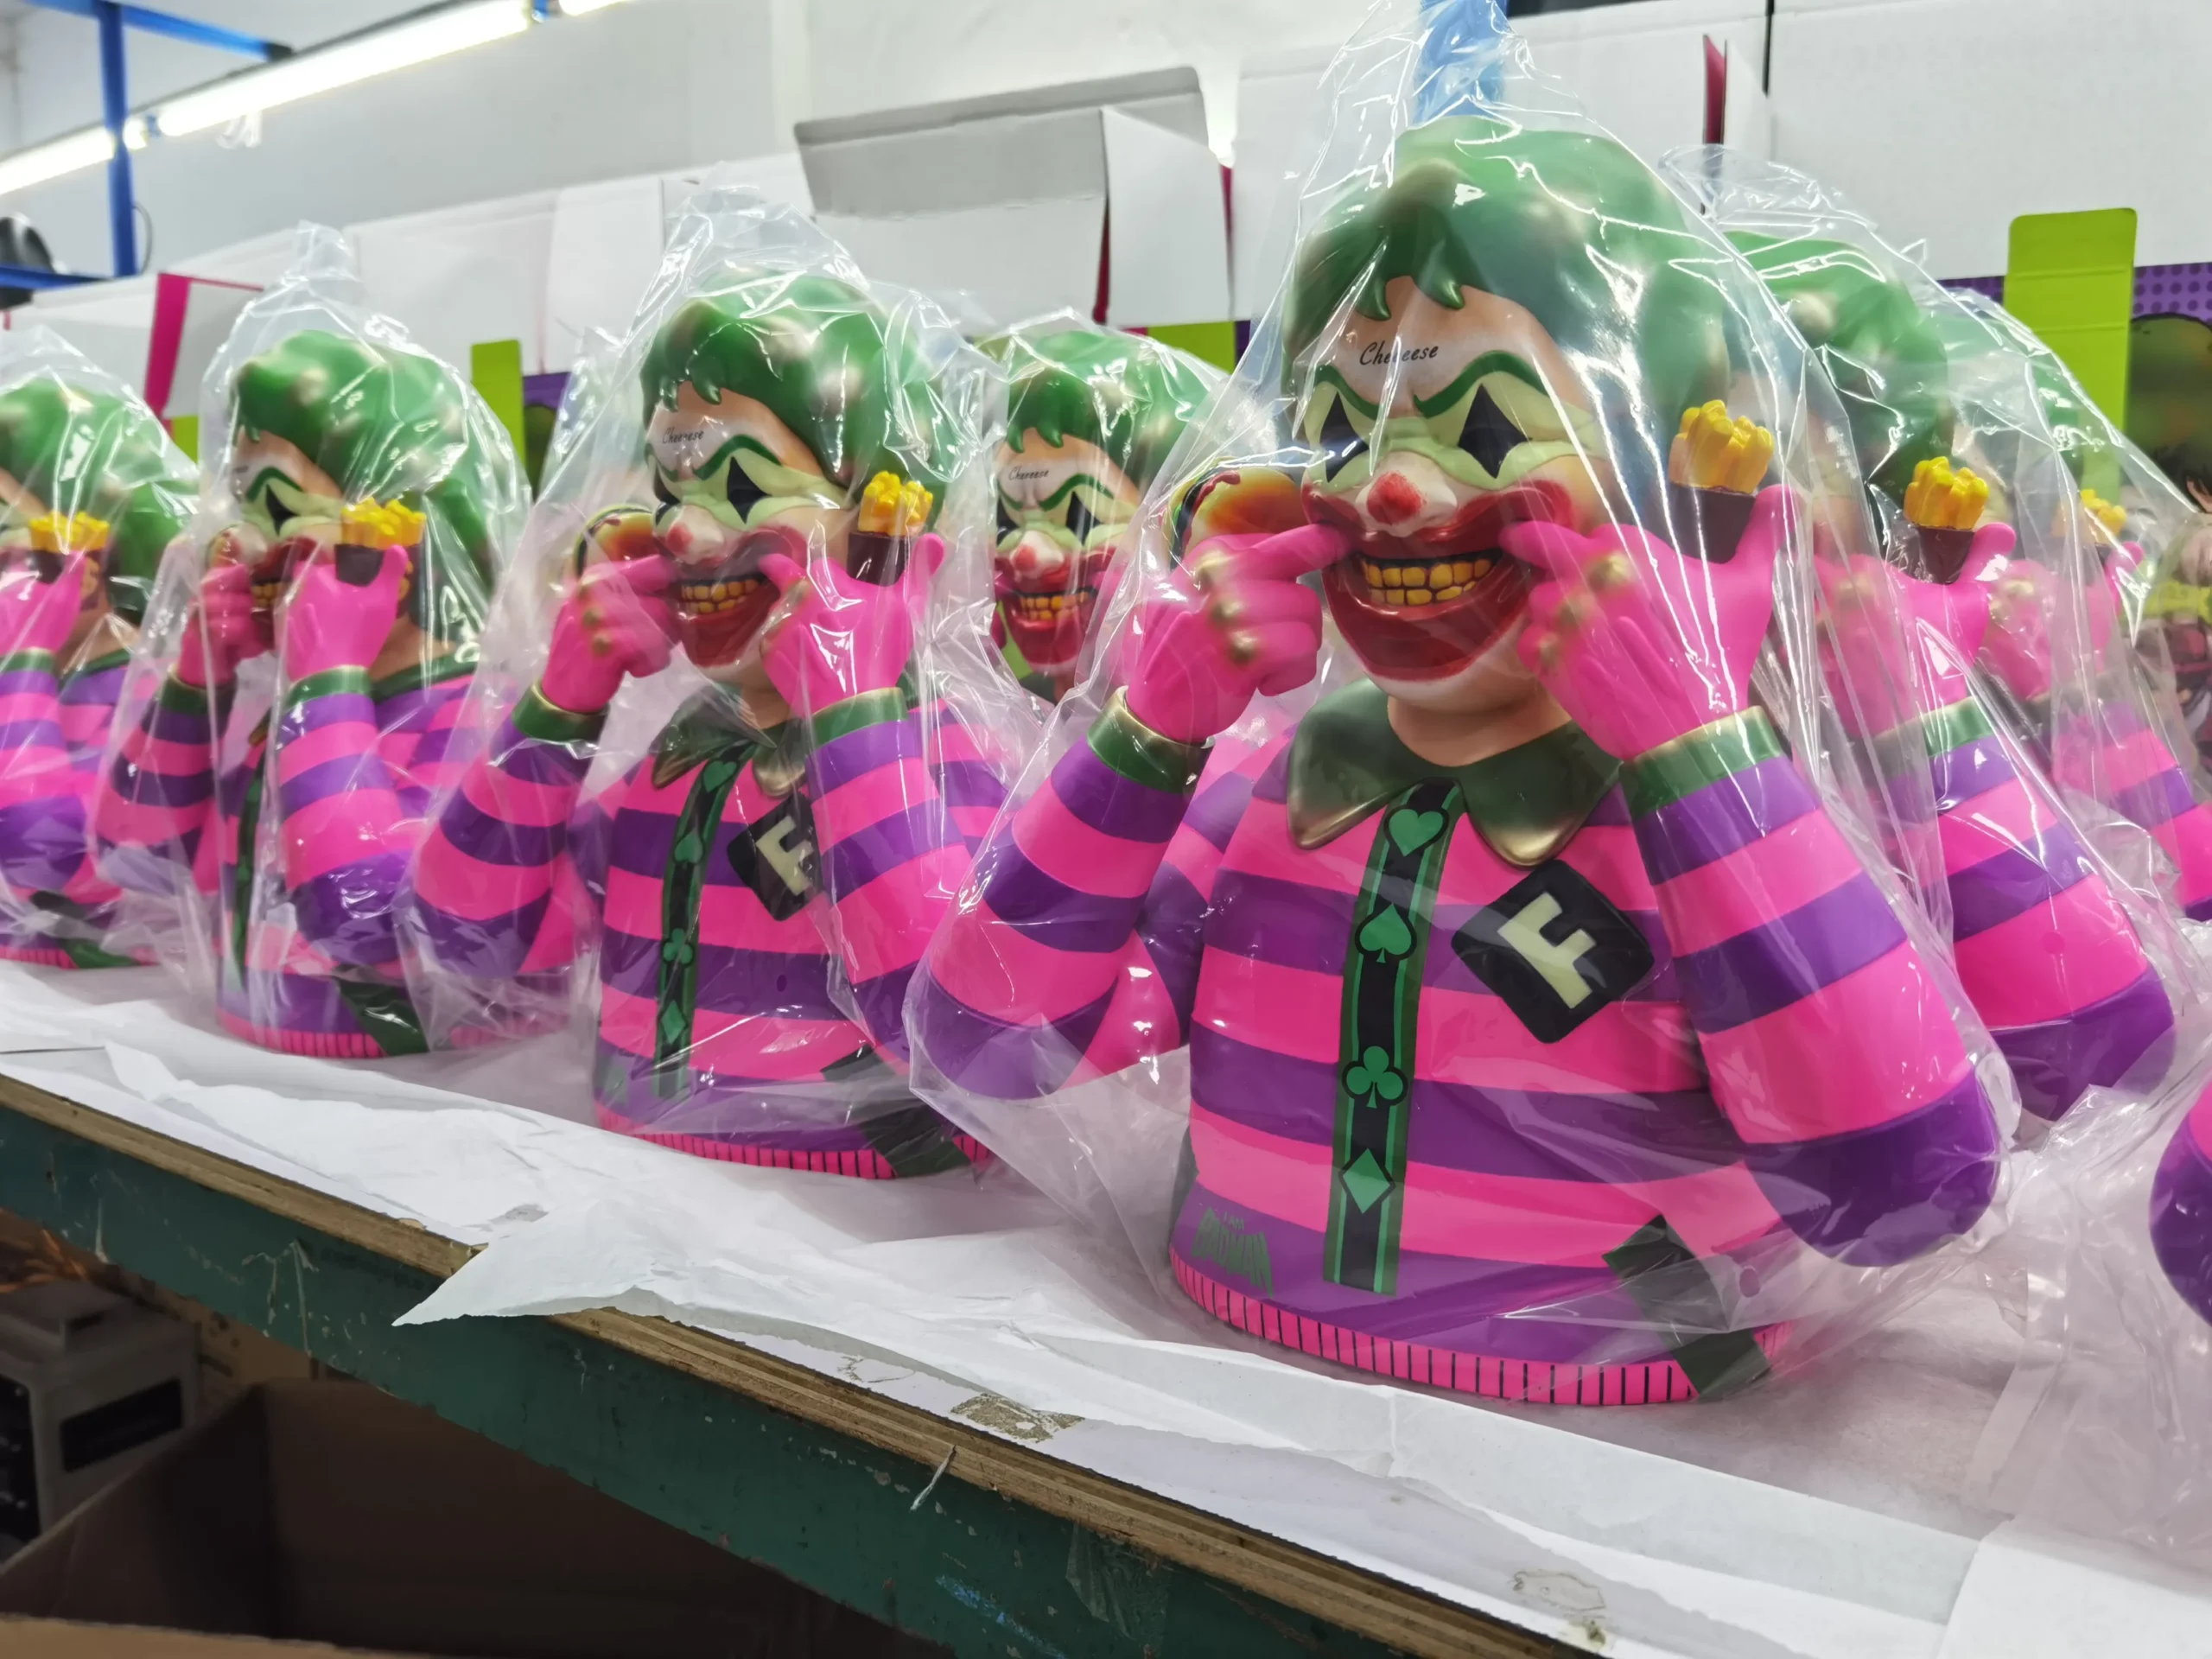
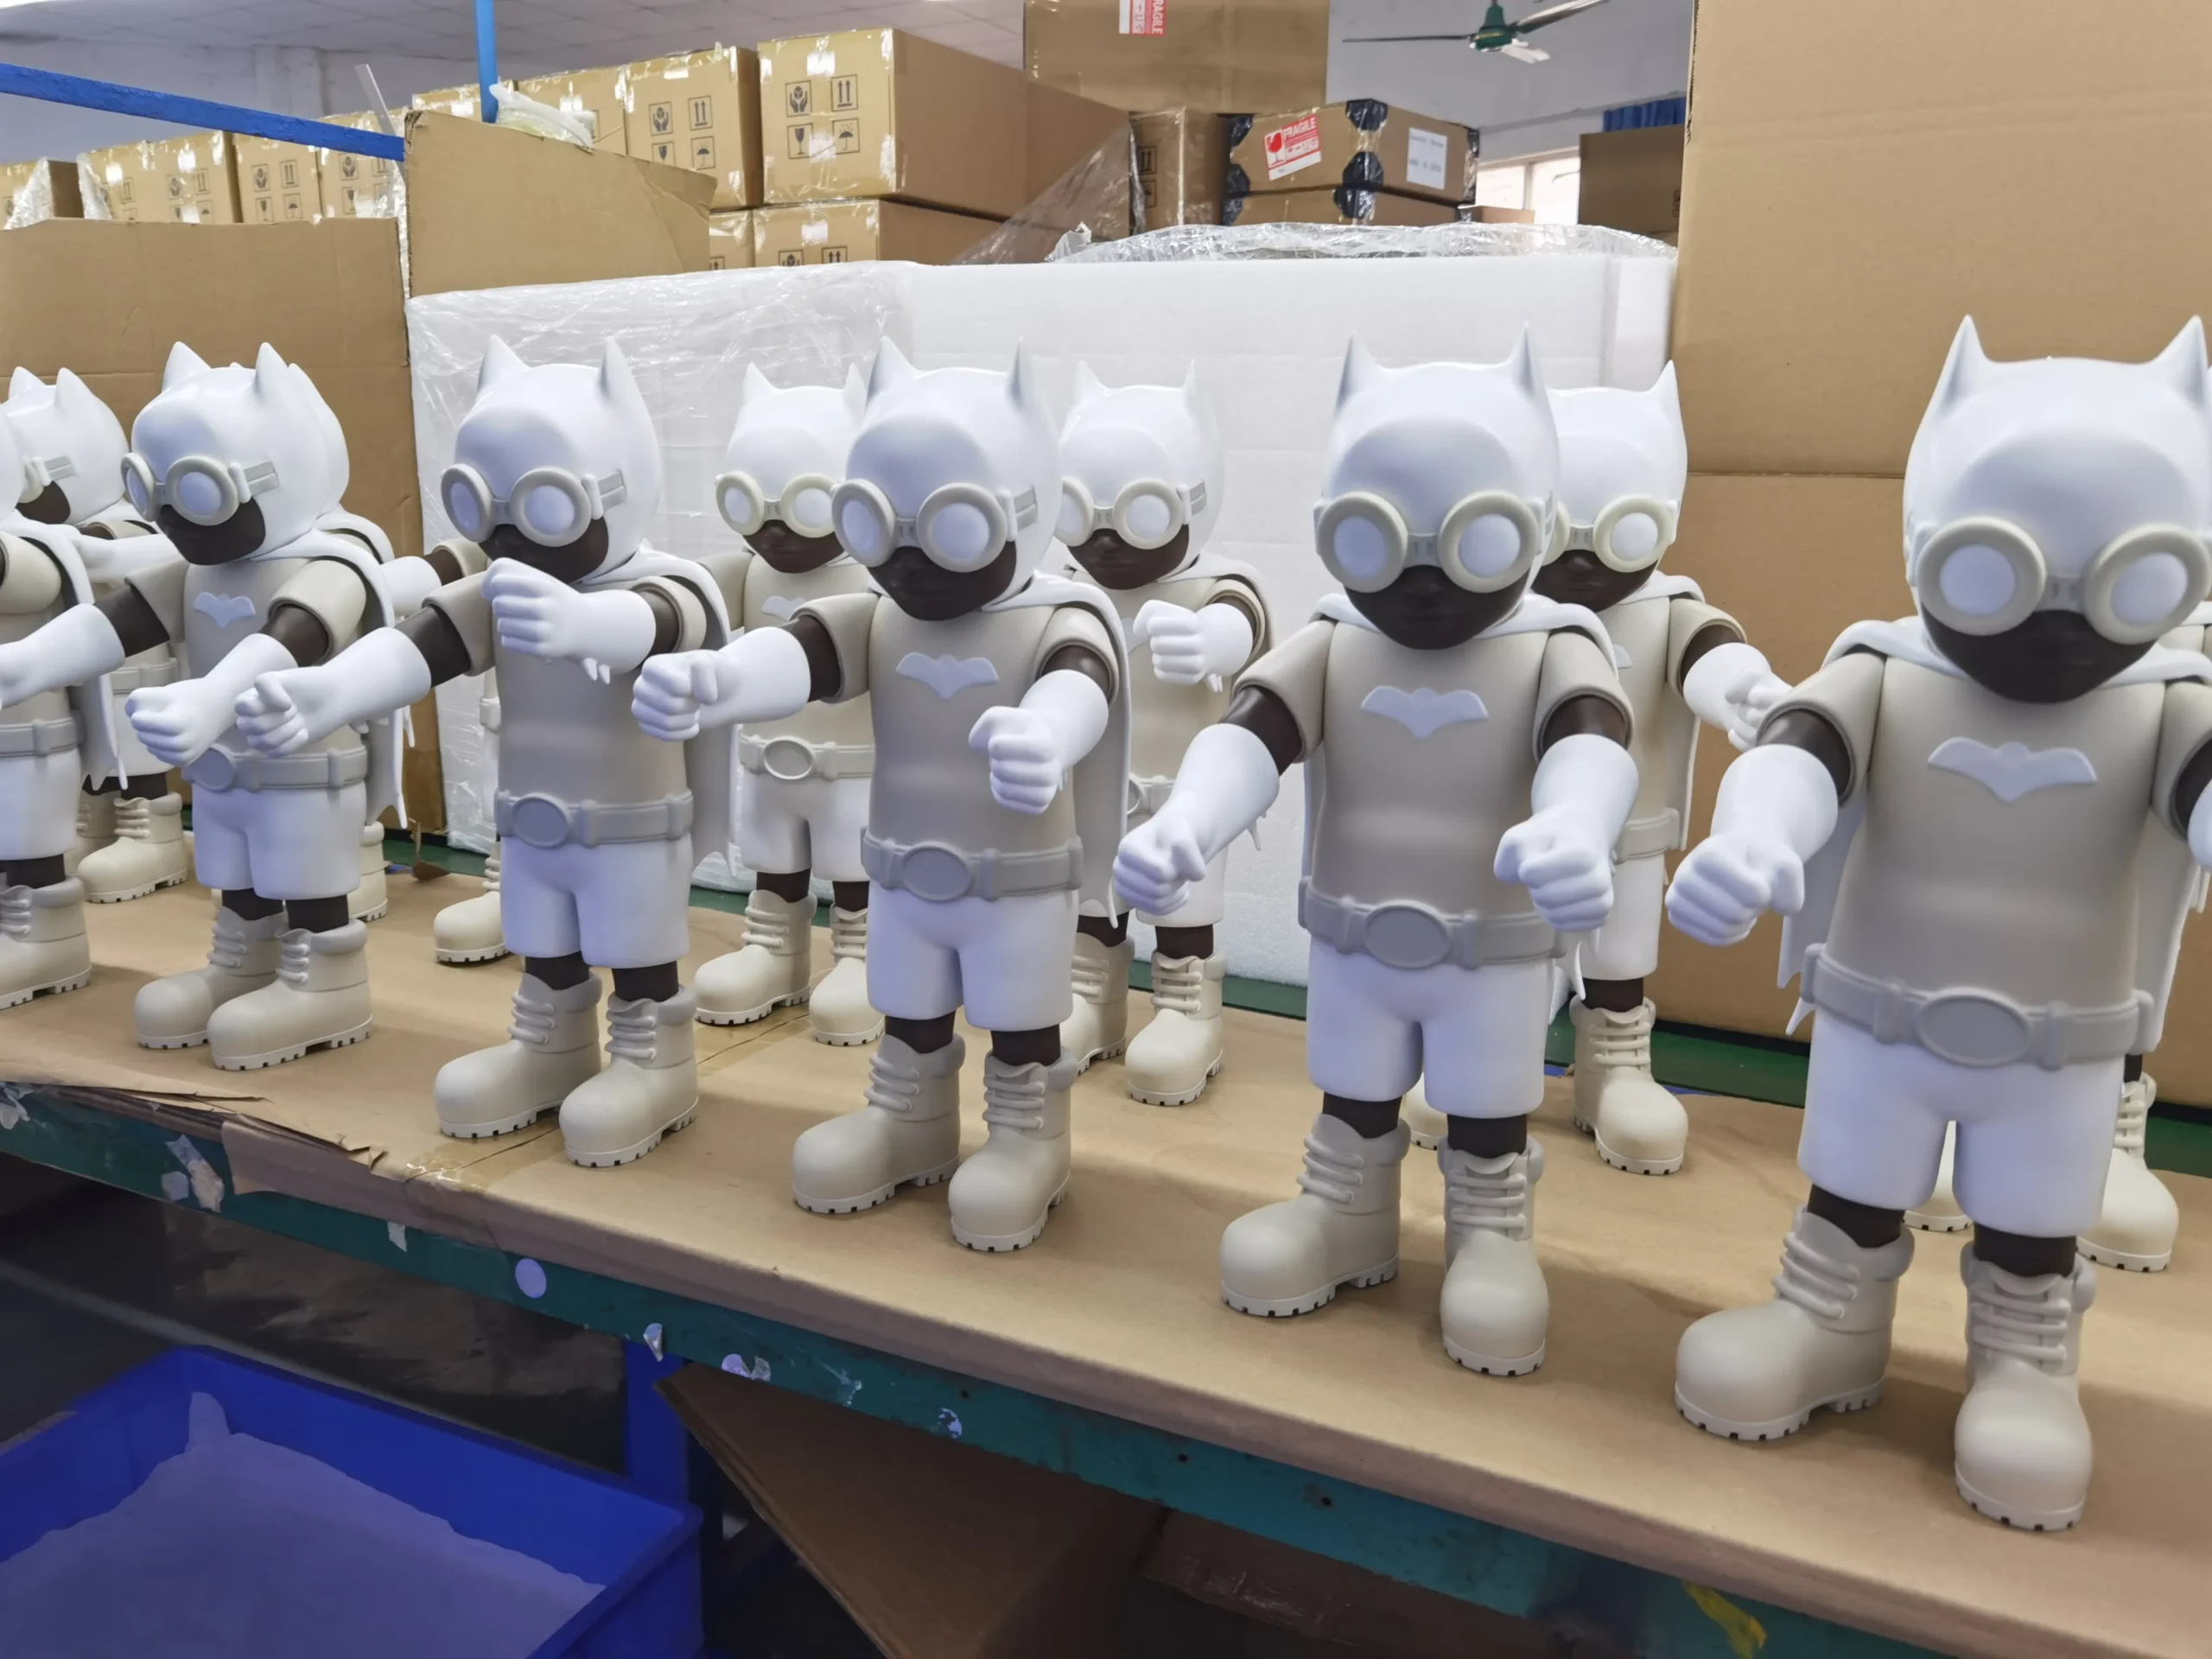
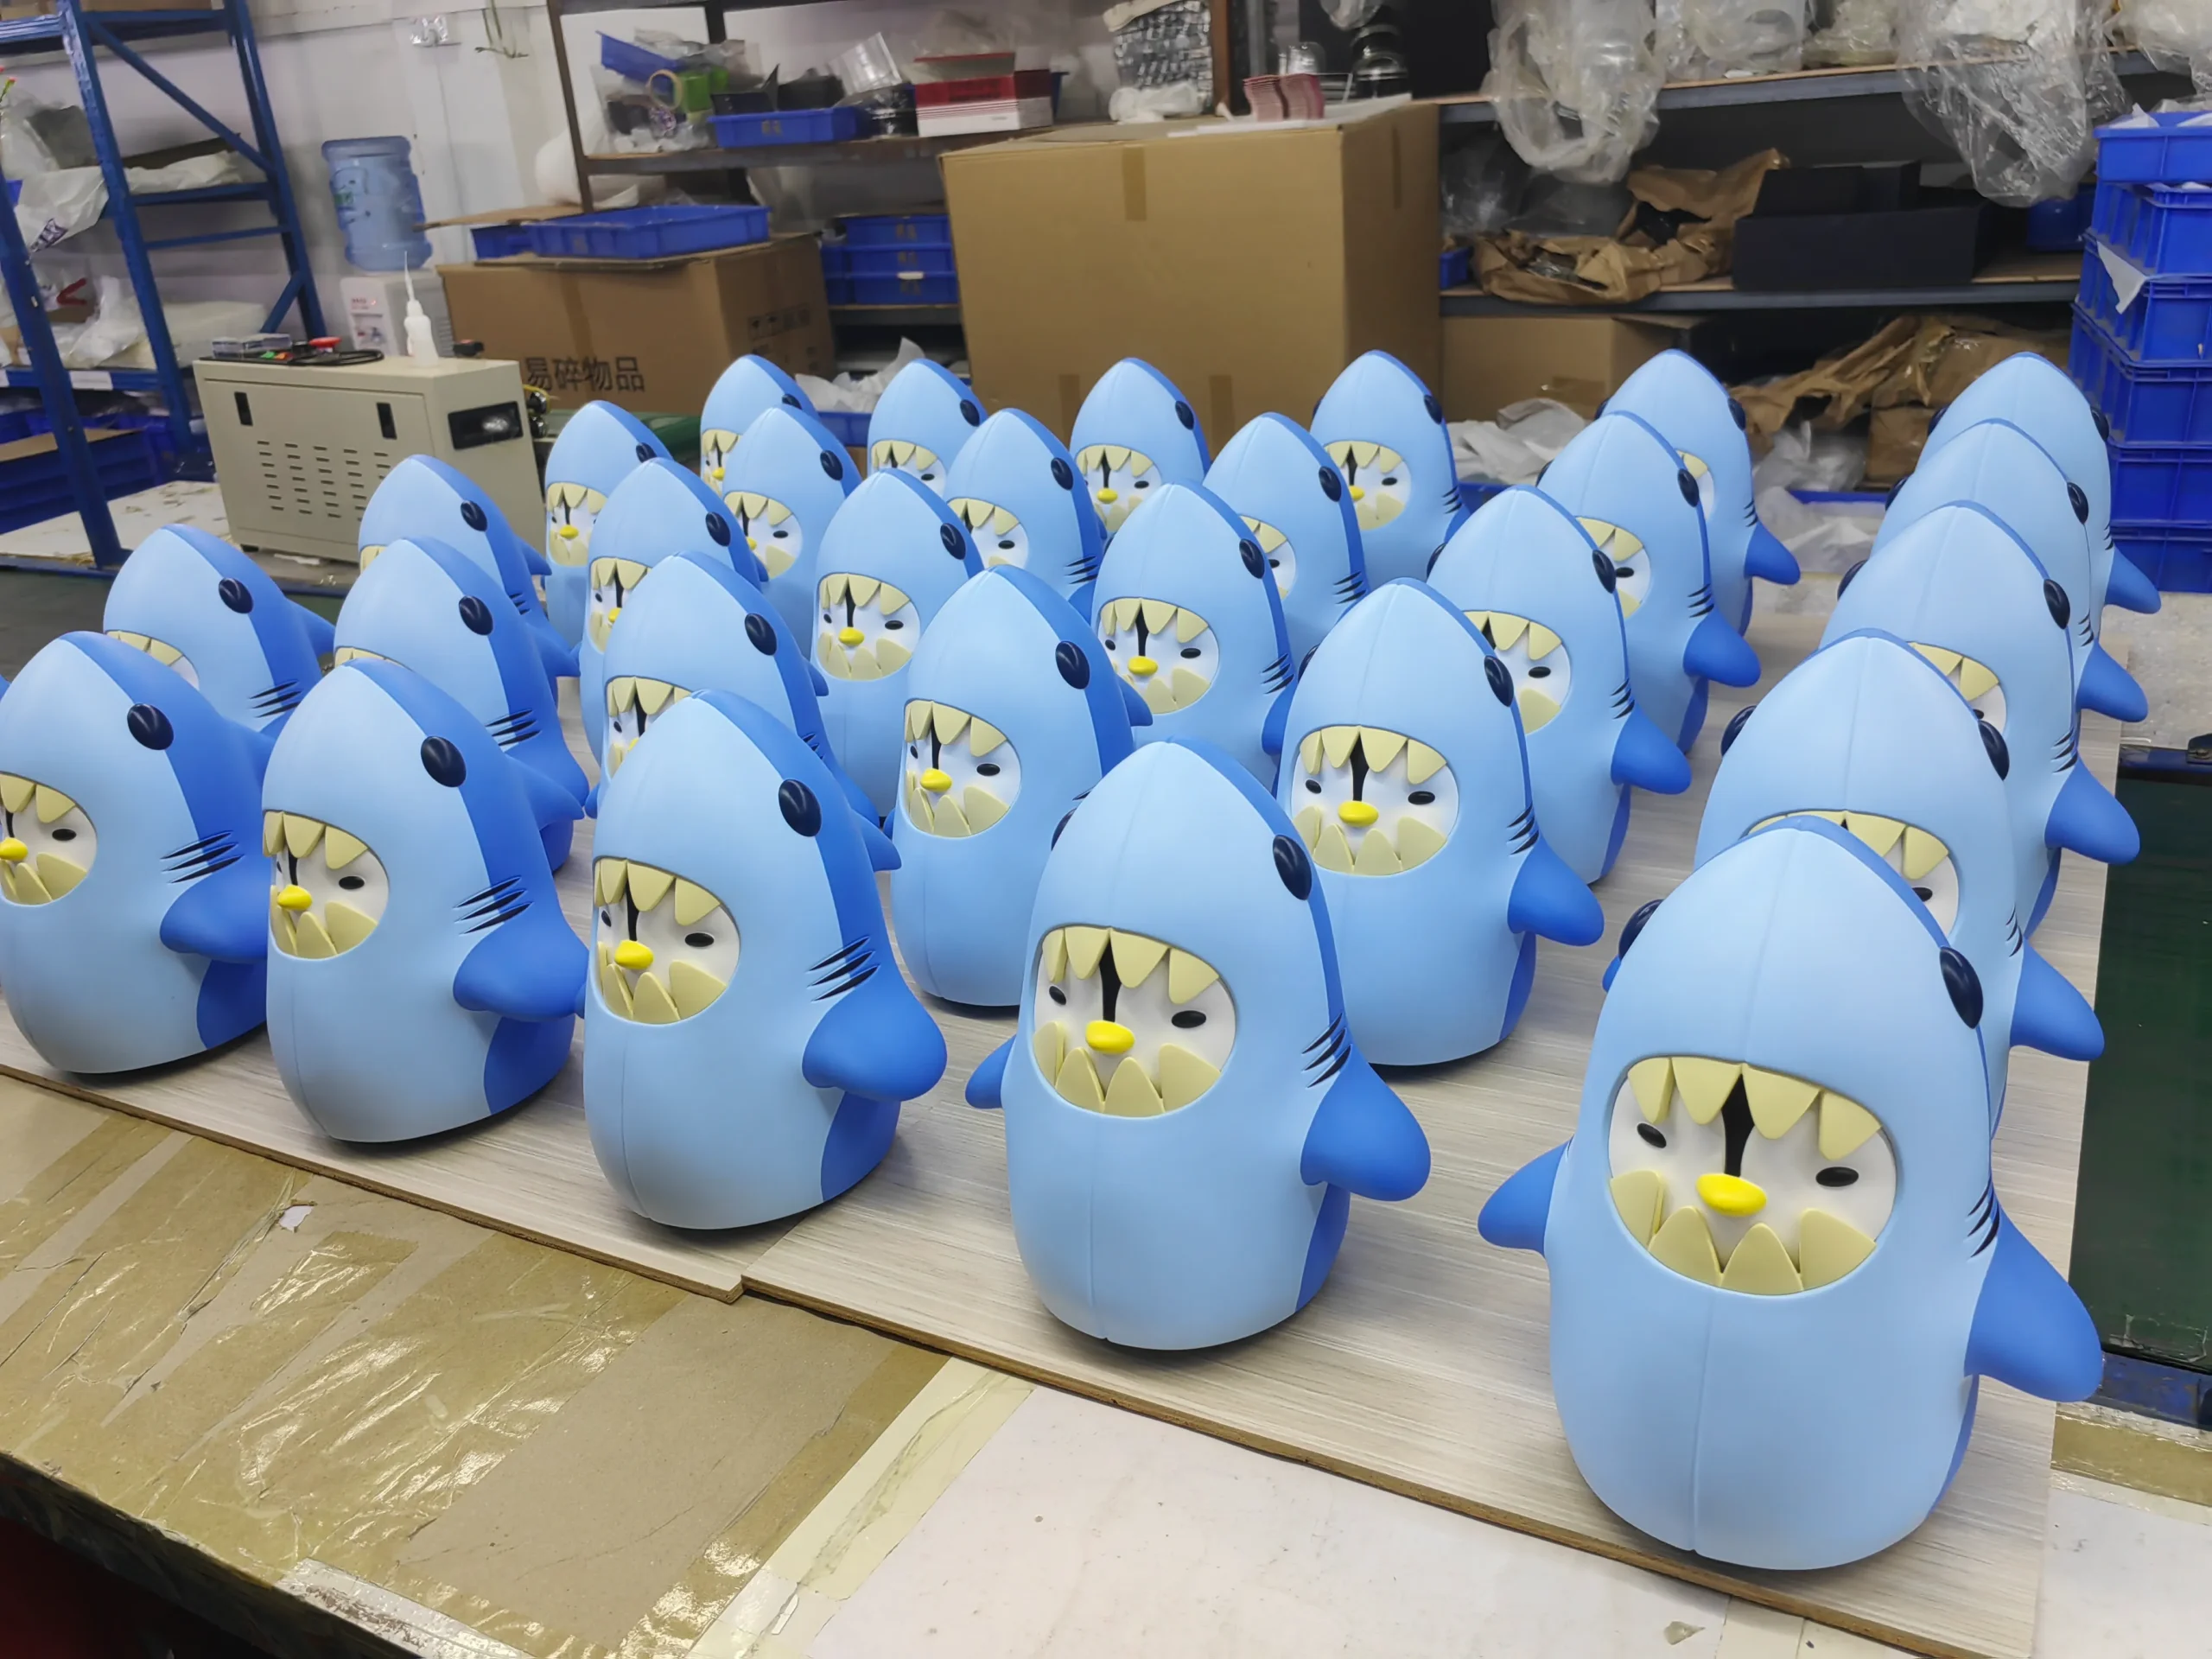
Vinyl toys, also known as designer toys, originate from a specific plastic production technique. Despite some misunderstanding, “vinyl” does not refer to the material itself (i.e., polyvinyl chloride, PVC), but rather to the rotational molding process used to manufacture these toys. This innovative method has evolved over time, incorporating historical significance, cultural factors, and technological advancements, ultimately securing a place in the collectibles market.
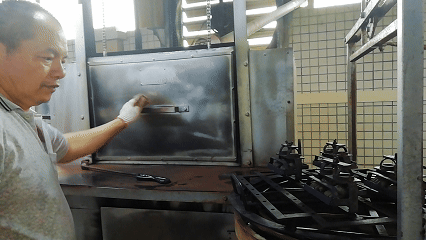
This technology was originally used for the production of hollow molded products, and the process includes electroplating copper onto the prototype to form a metal mold, then injecting the adjusted polyvinyl chloride paste resin into the mold, and evenly distributing and cooling it under rotational heating conditions—this is an economical method that can precisely control the texture of the toys. It is this process that creates the unique soft hollow structure and feel of vinyl toys, distinguishing them from solid PVC toys made through injection molding.
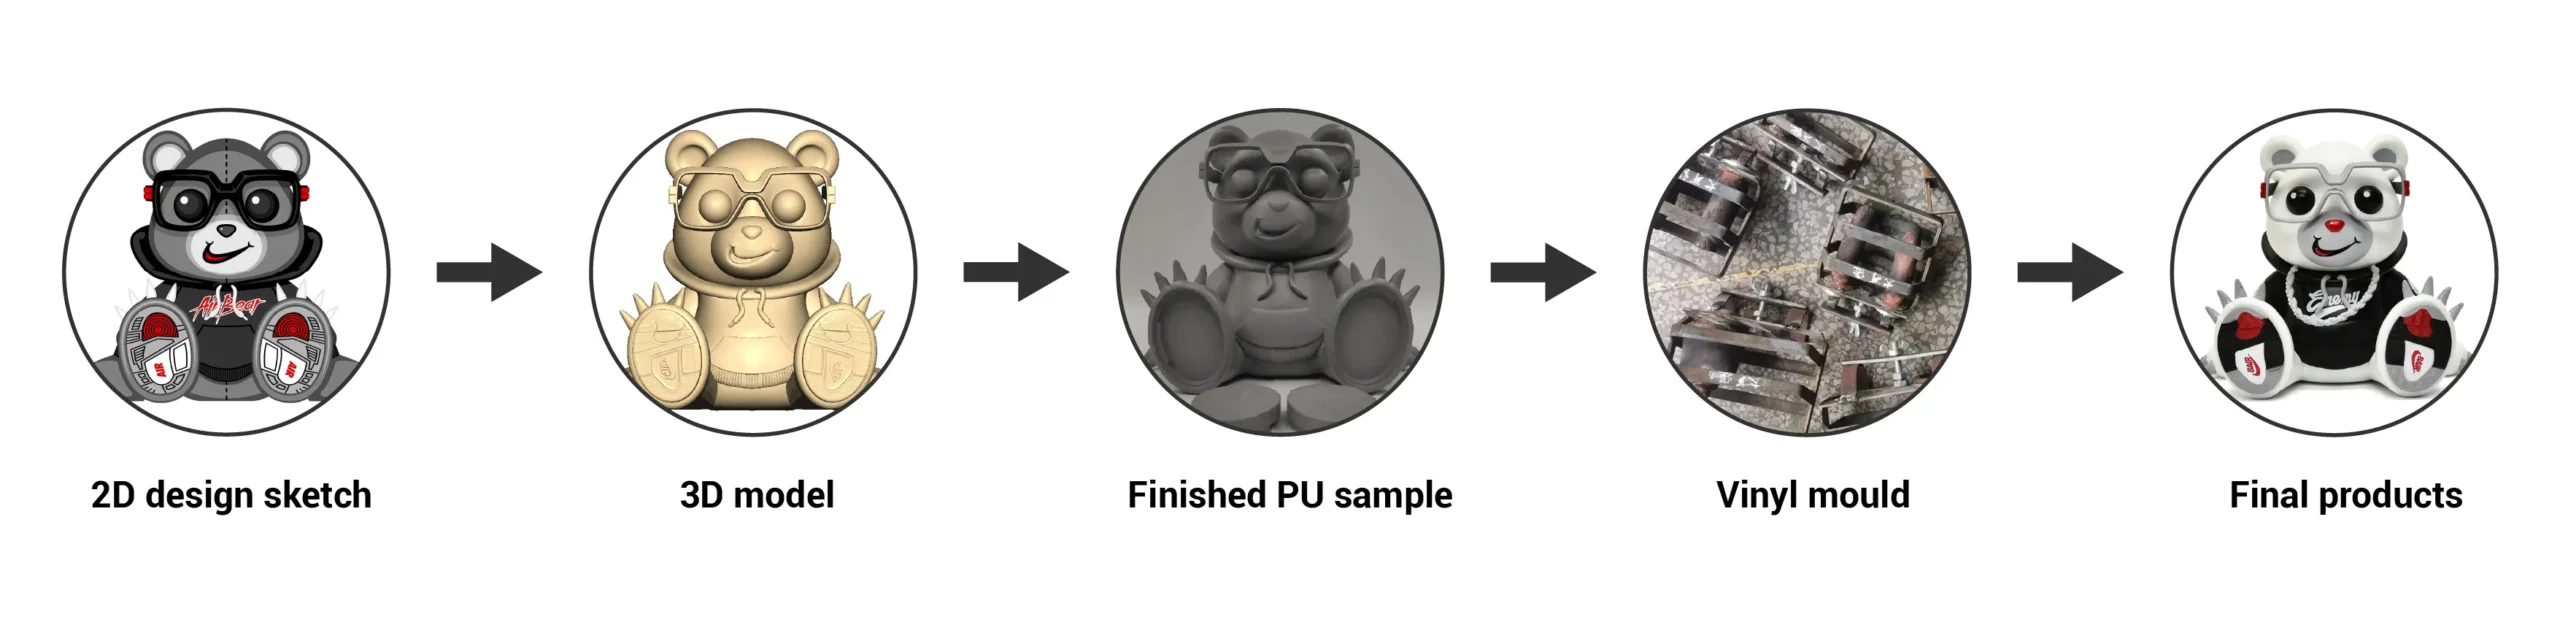
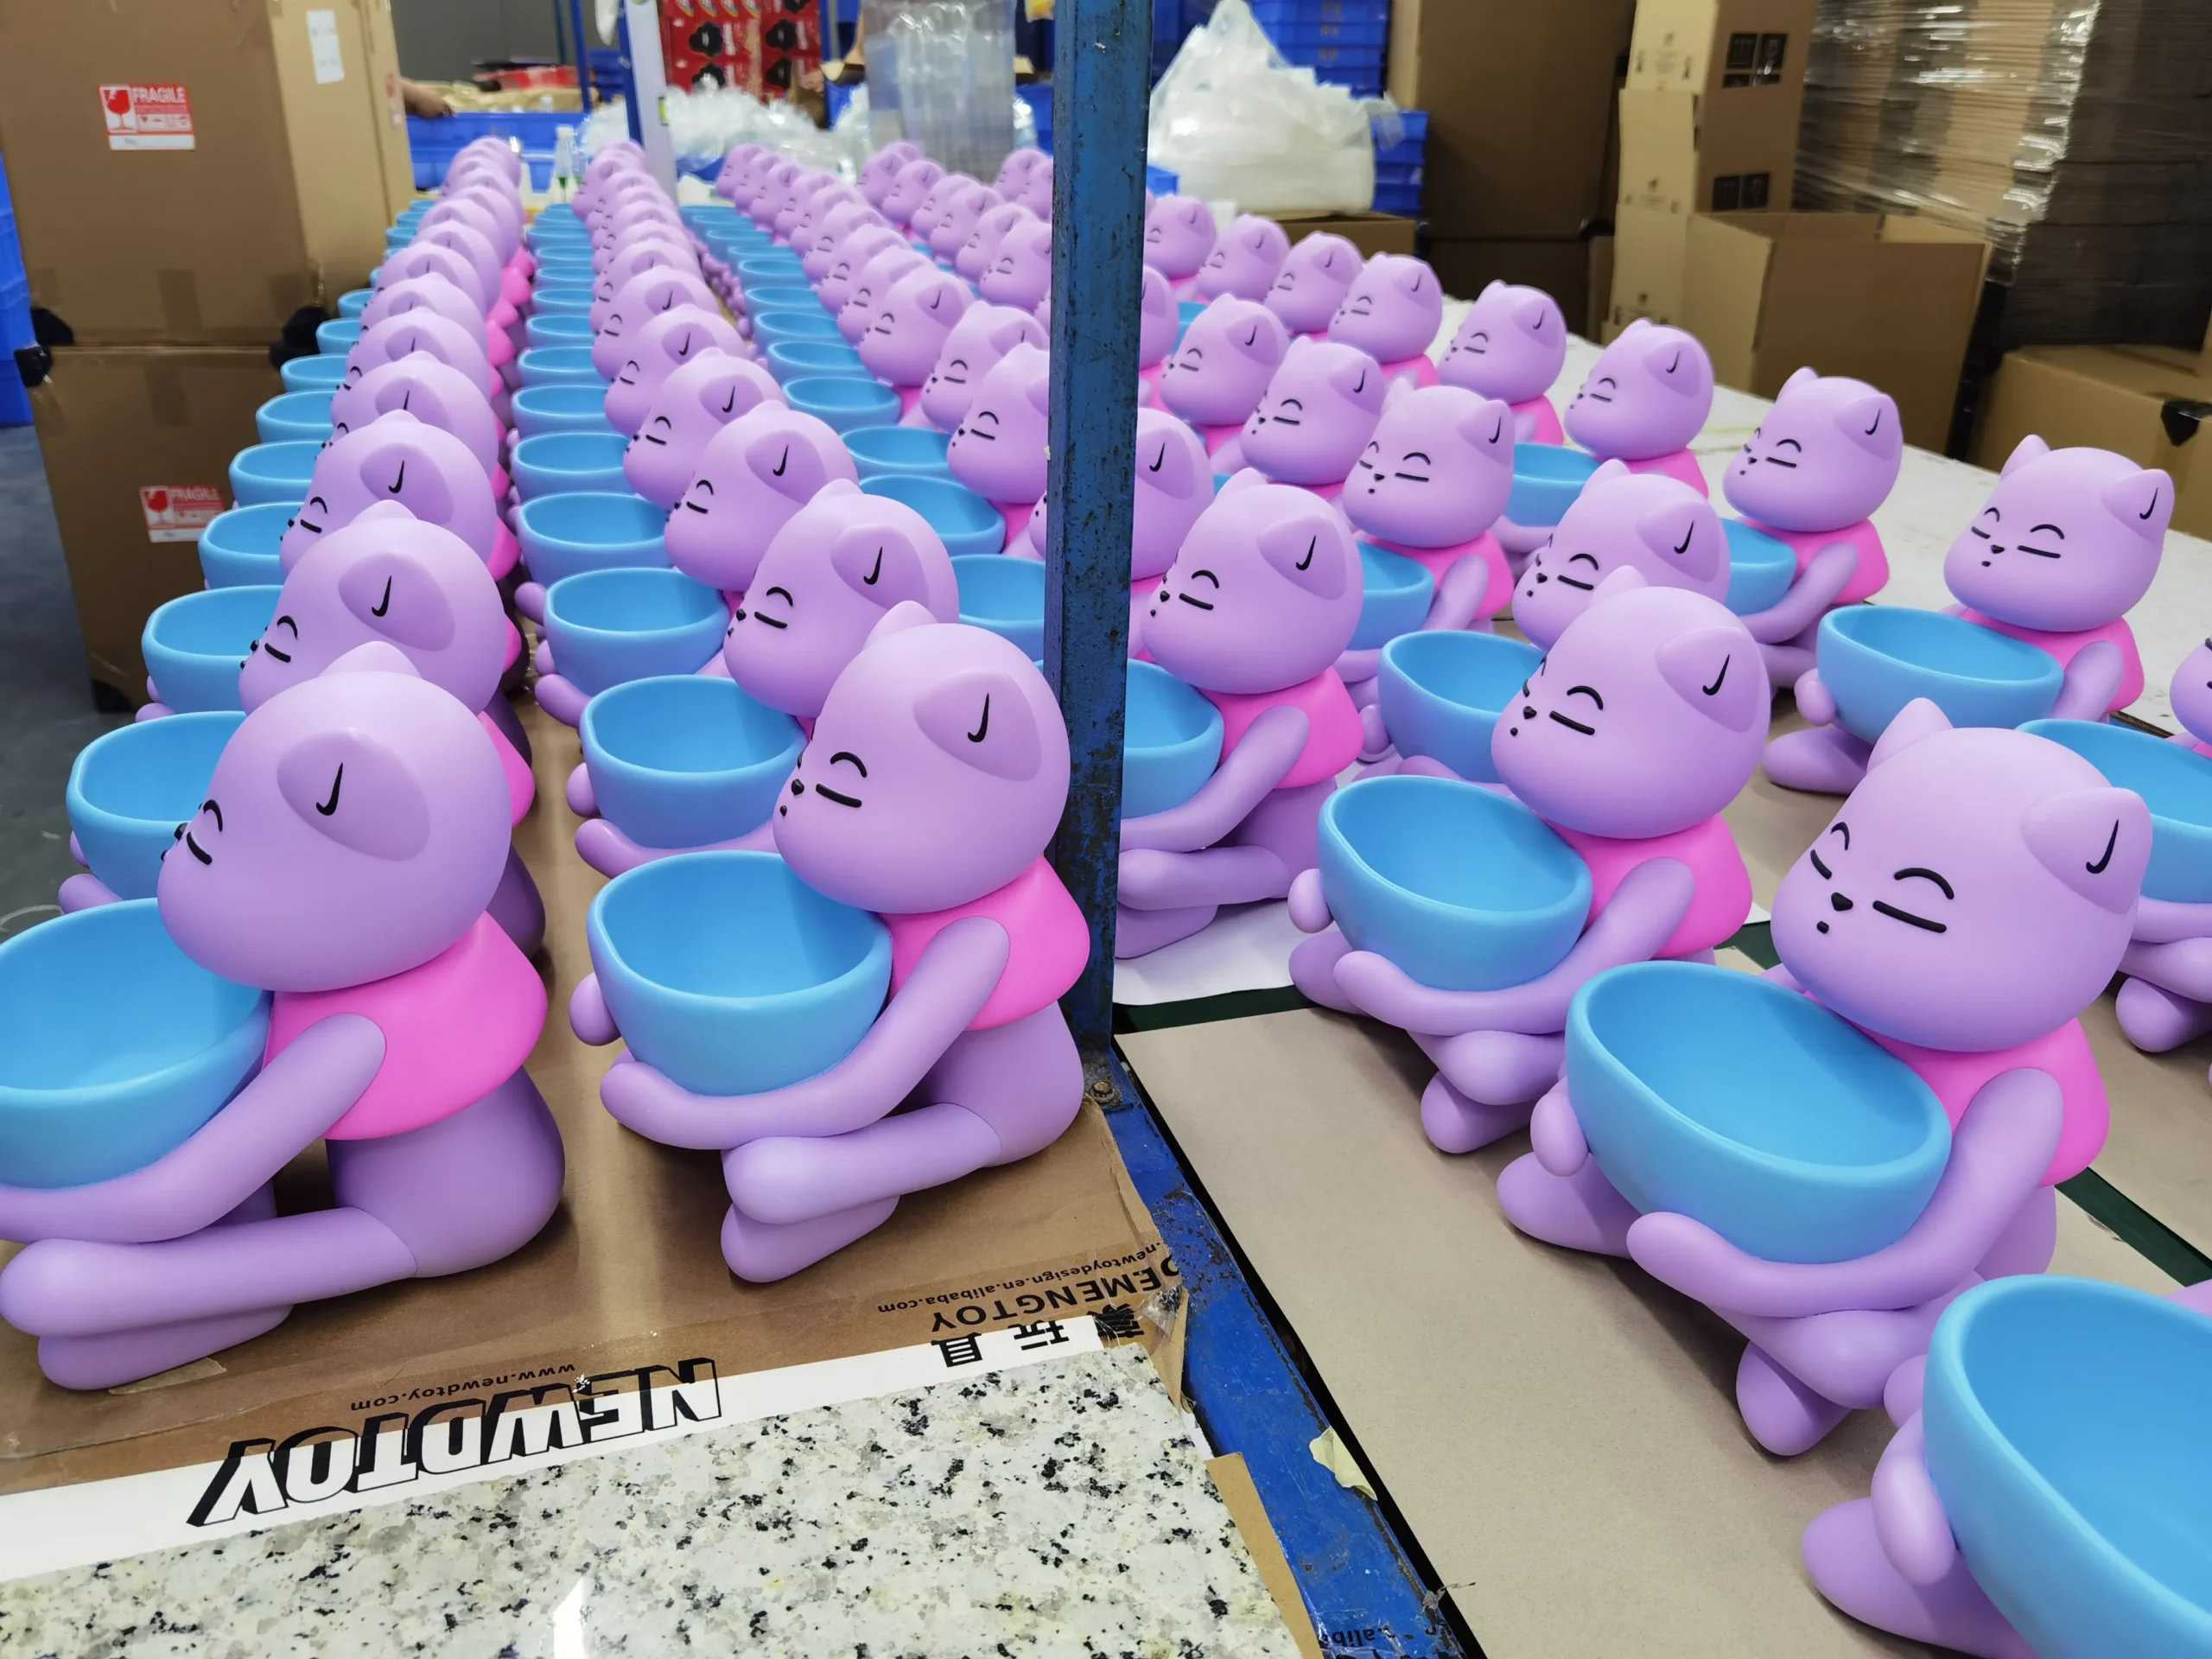
To produce Vinyl toys, one must first create a 3D model based on the design and then disassemble the 3D model according to the coloring scheme. Next, a vinyl mold is created based on the disassembled 3D model, and then toy vinyl parts are produced using the vinyl mold. The produced vinyl parts need to be manually trimmed to remove excess water gates, and the surfaces of the vinyl parts must be manually polished to make them smooth and easy to color. After that, they are sprayed with color according to the color of each component, followed by logo transfer printing. Finally, the parts are assembled and packaged into the finished vinyl toys.
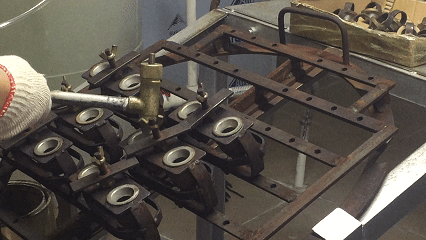
Step 1.Inject PVC raw materials into the rotacasting mold
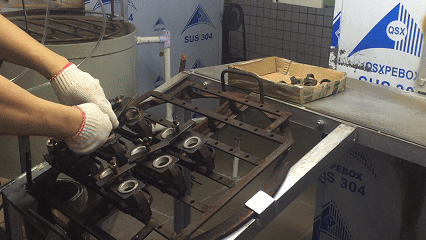
Step 2. Seal the vinyl molds securely
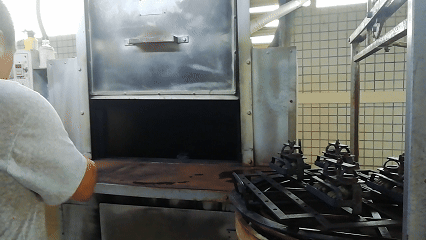
Step 3. Heat the molds while rotating them uniformly
Step 4. Submerge the vinyl mold in water for cooling
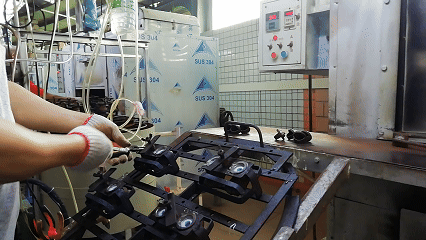
Step 5. Extract the vinyl toy components
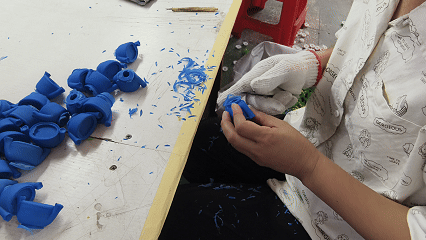
Step 6. Trim the vinyl toy parts for a clean finish
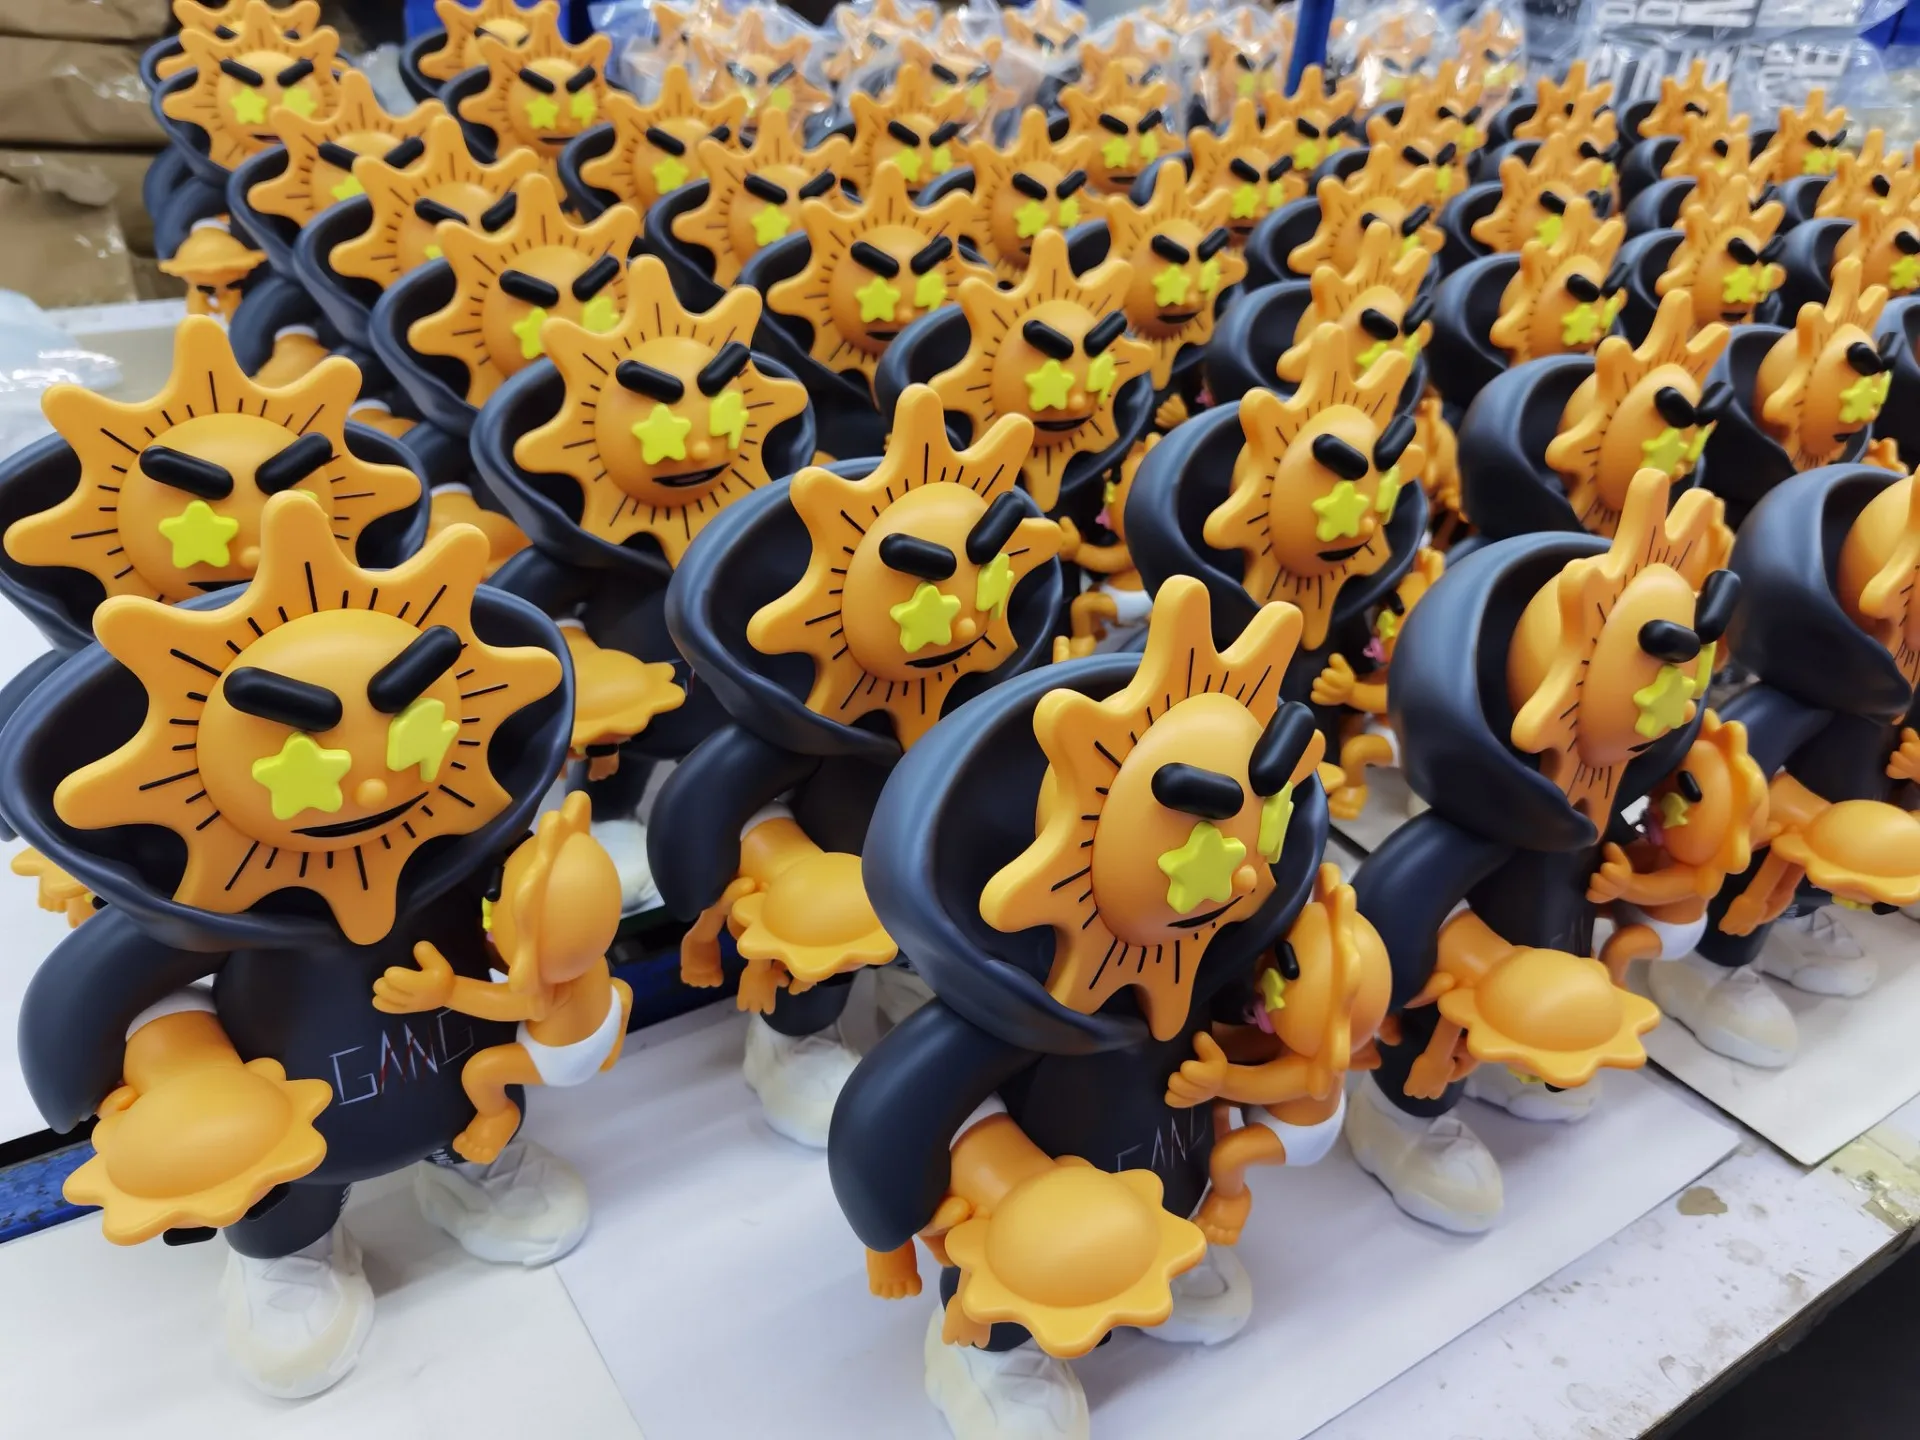
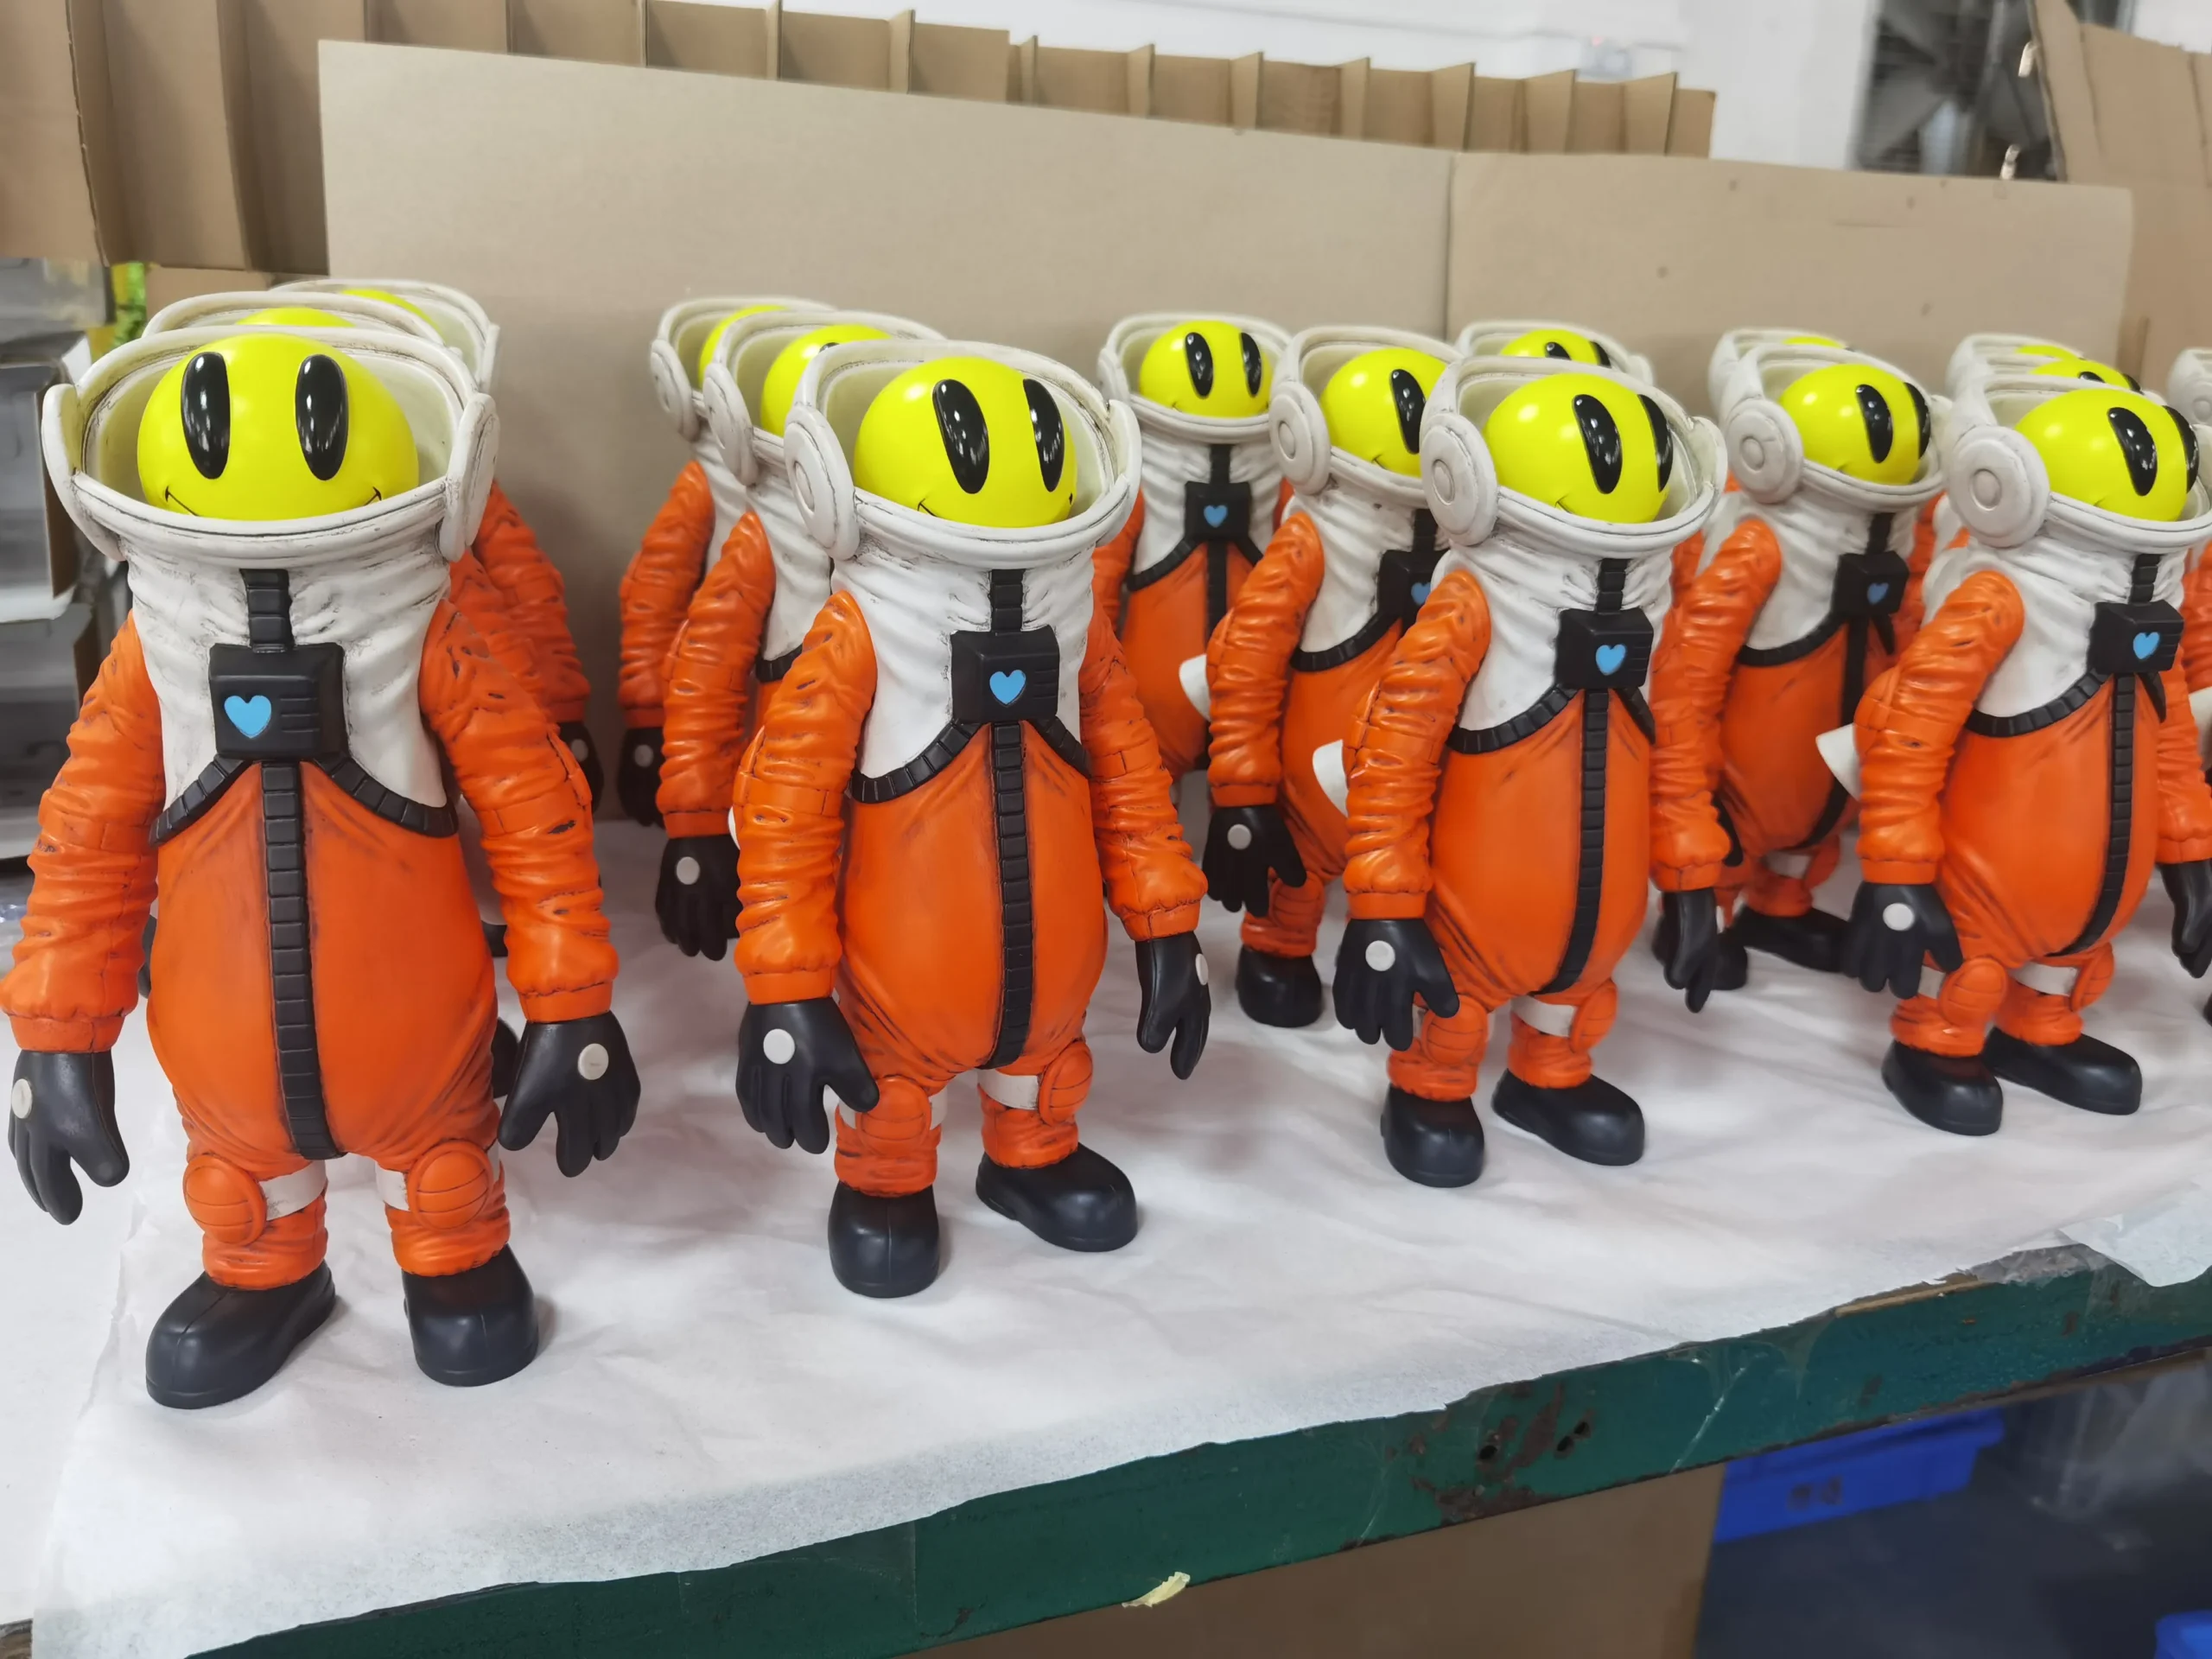
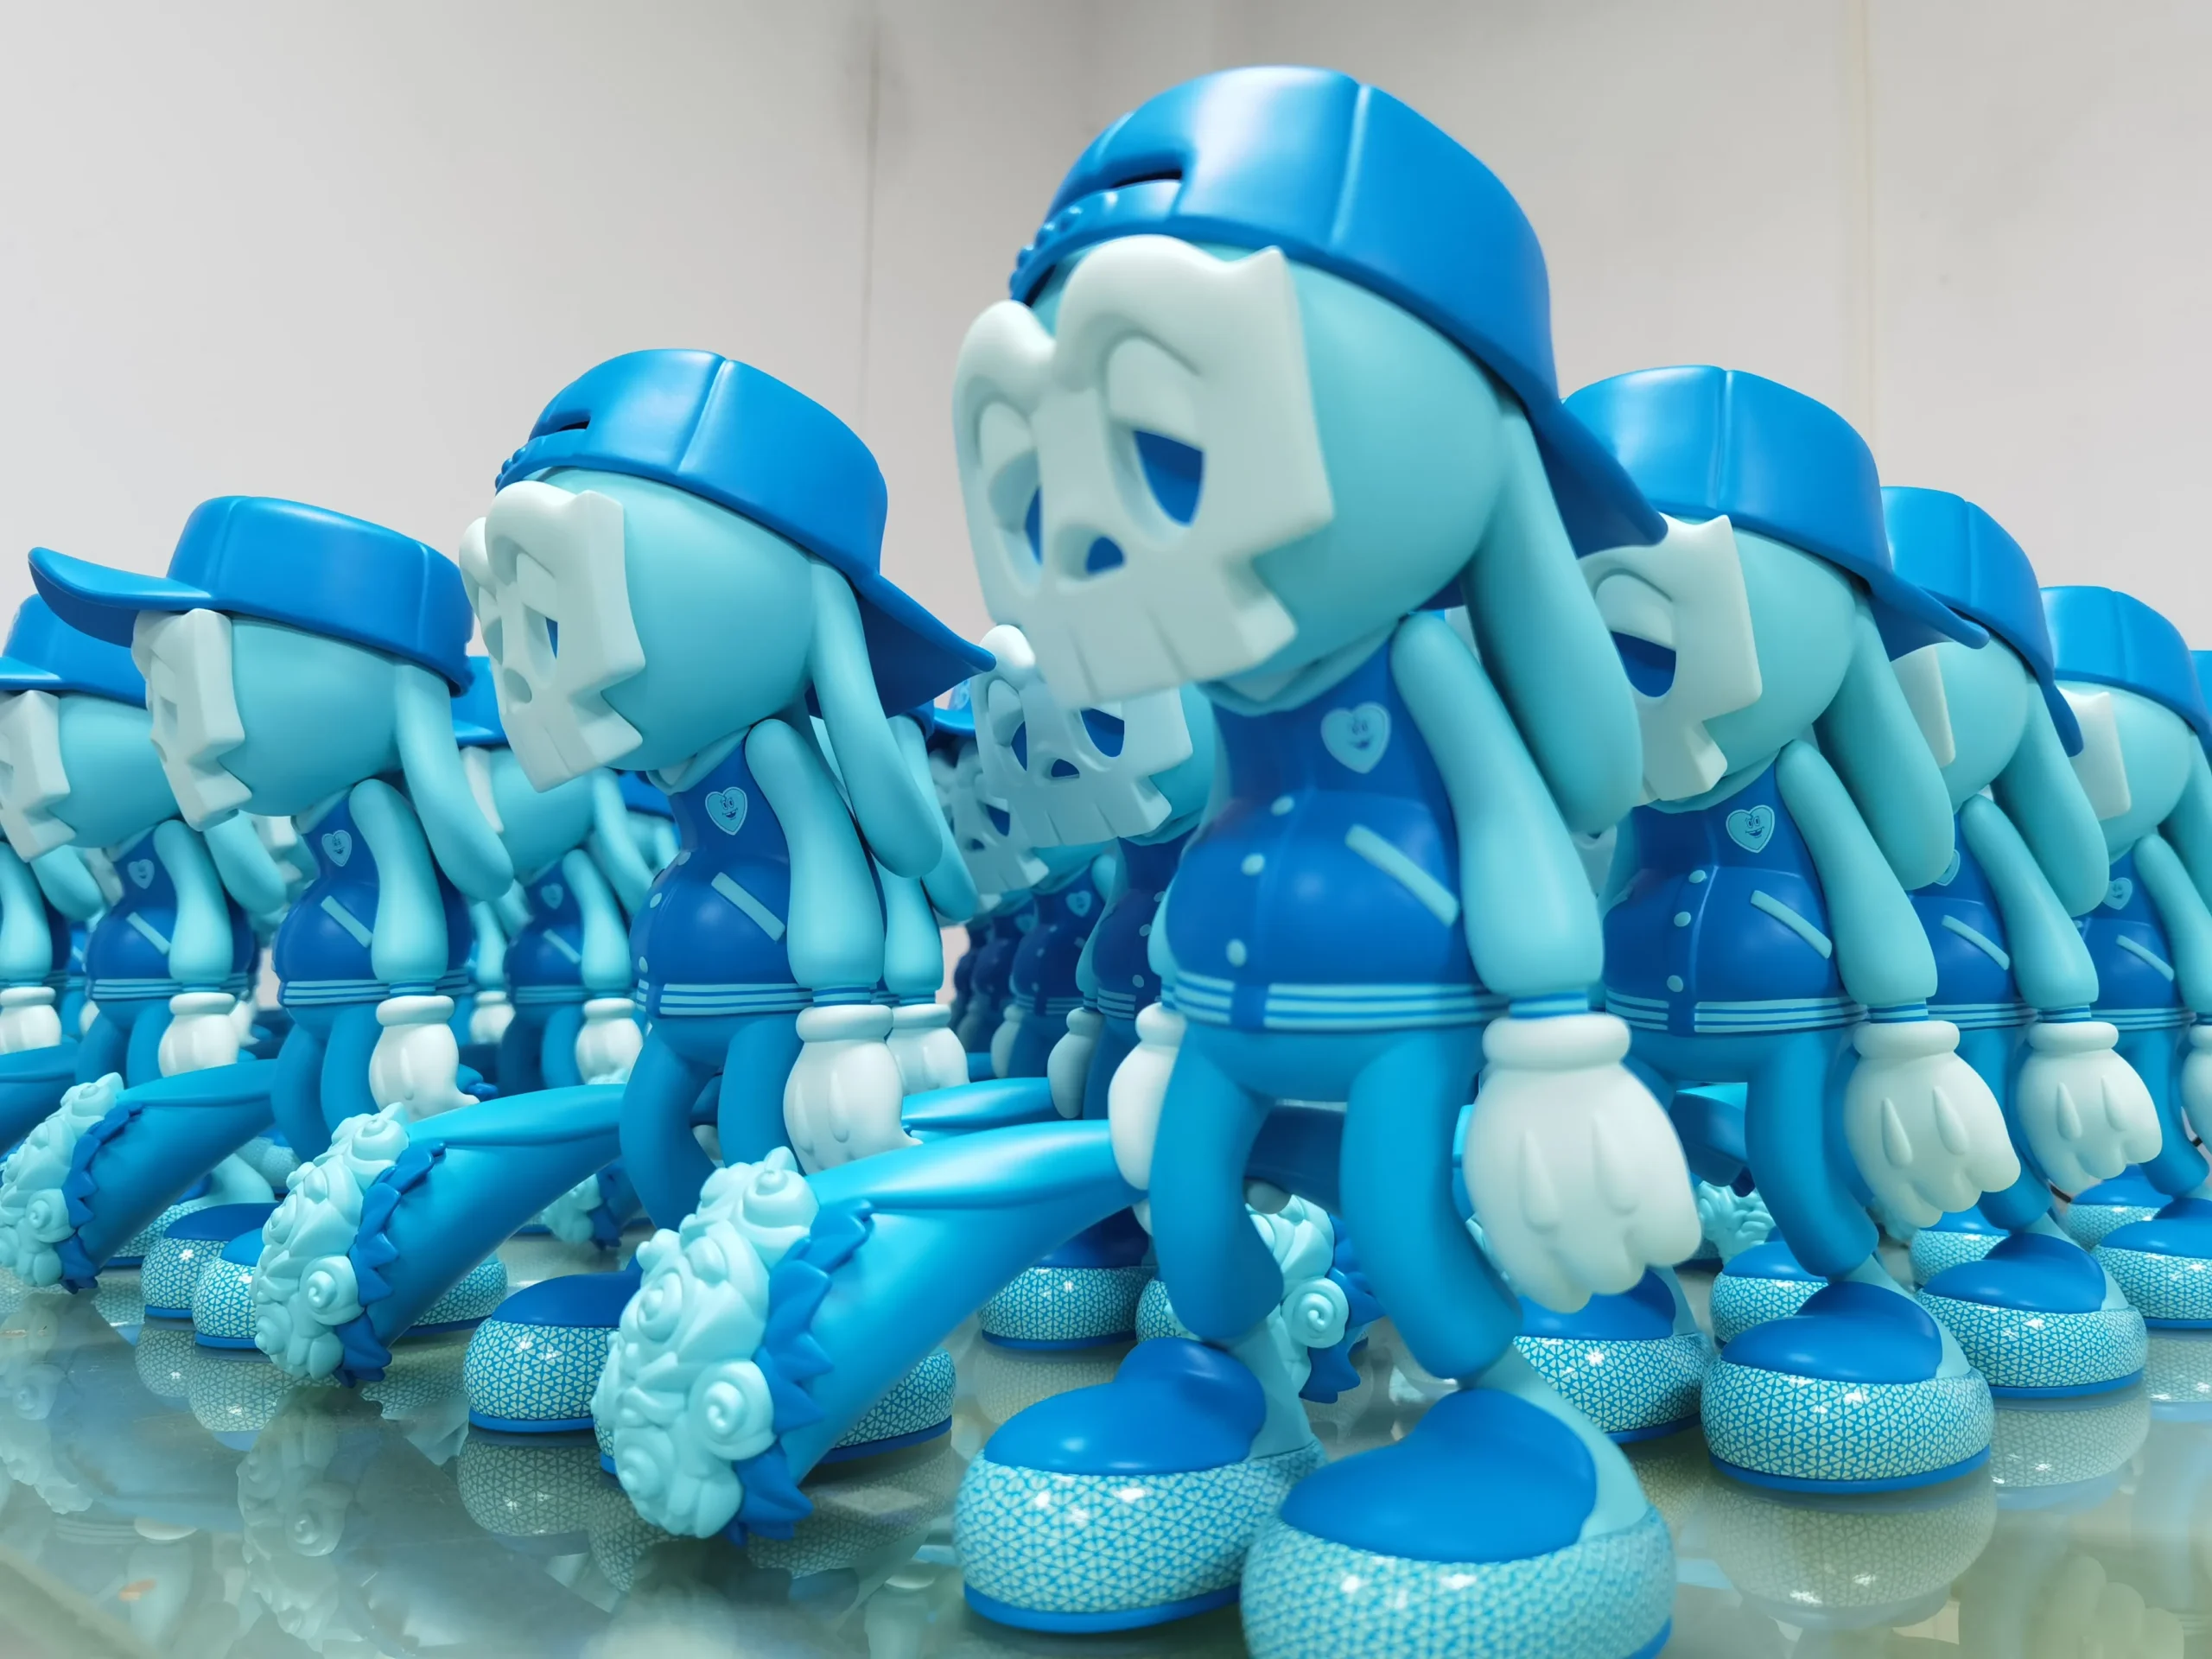
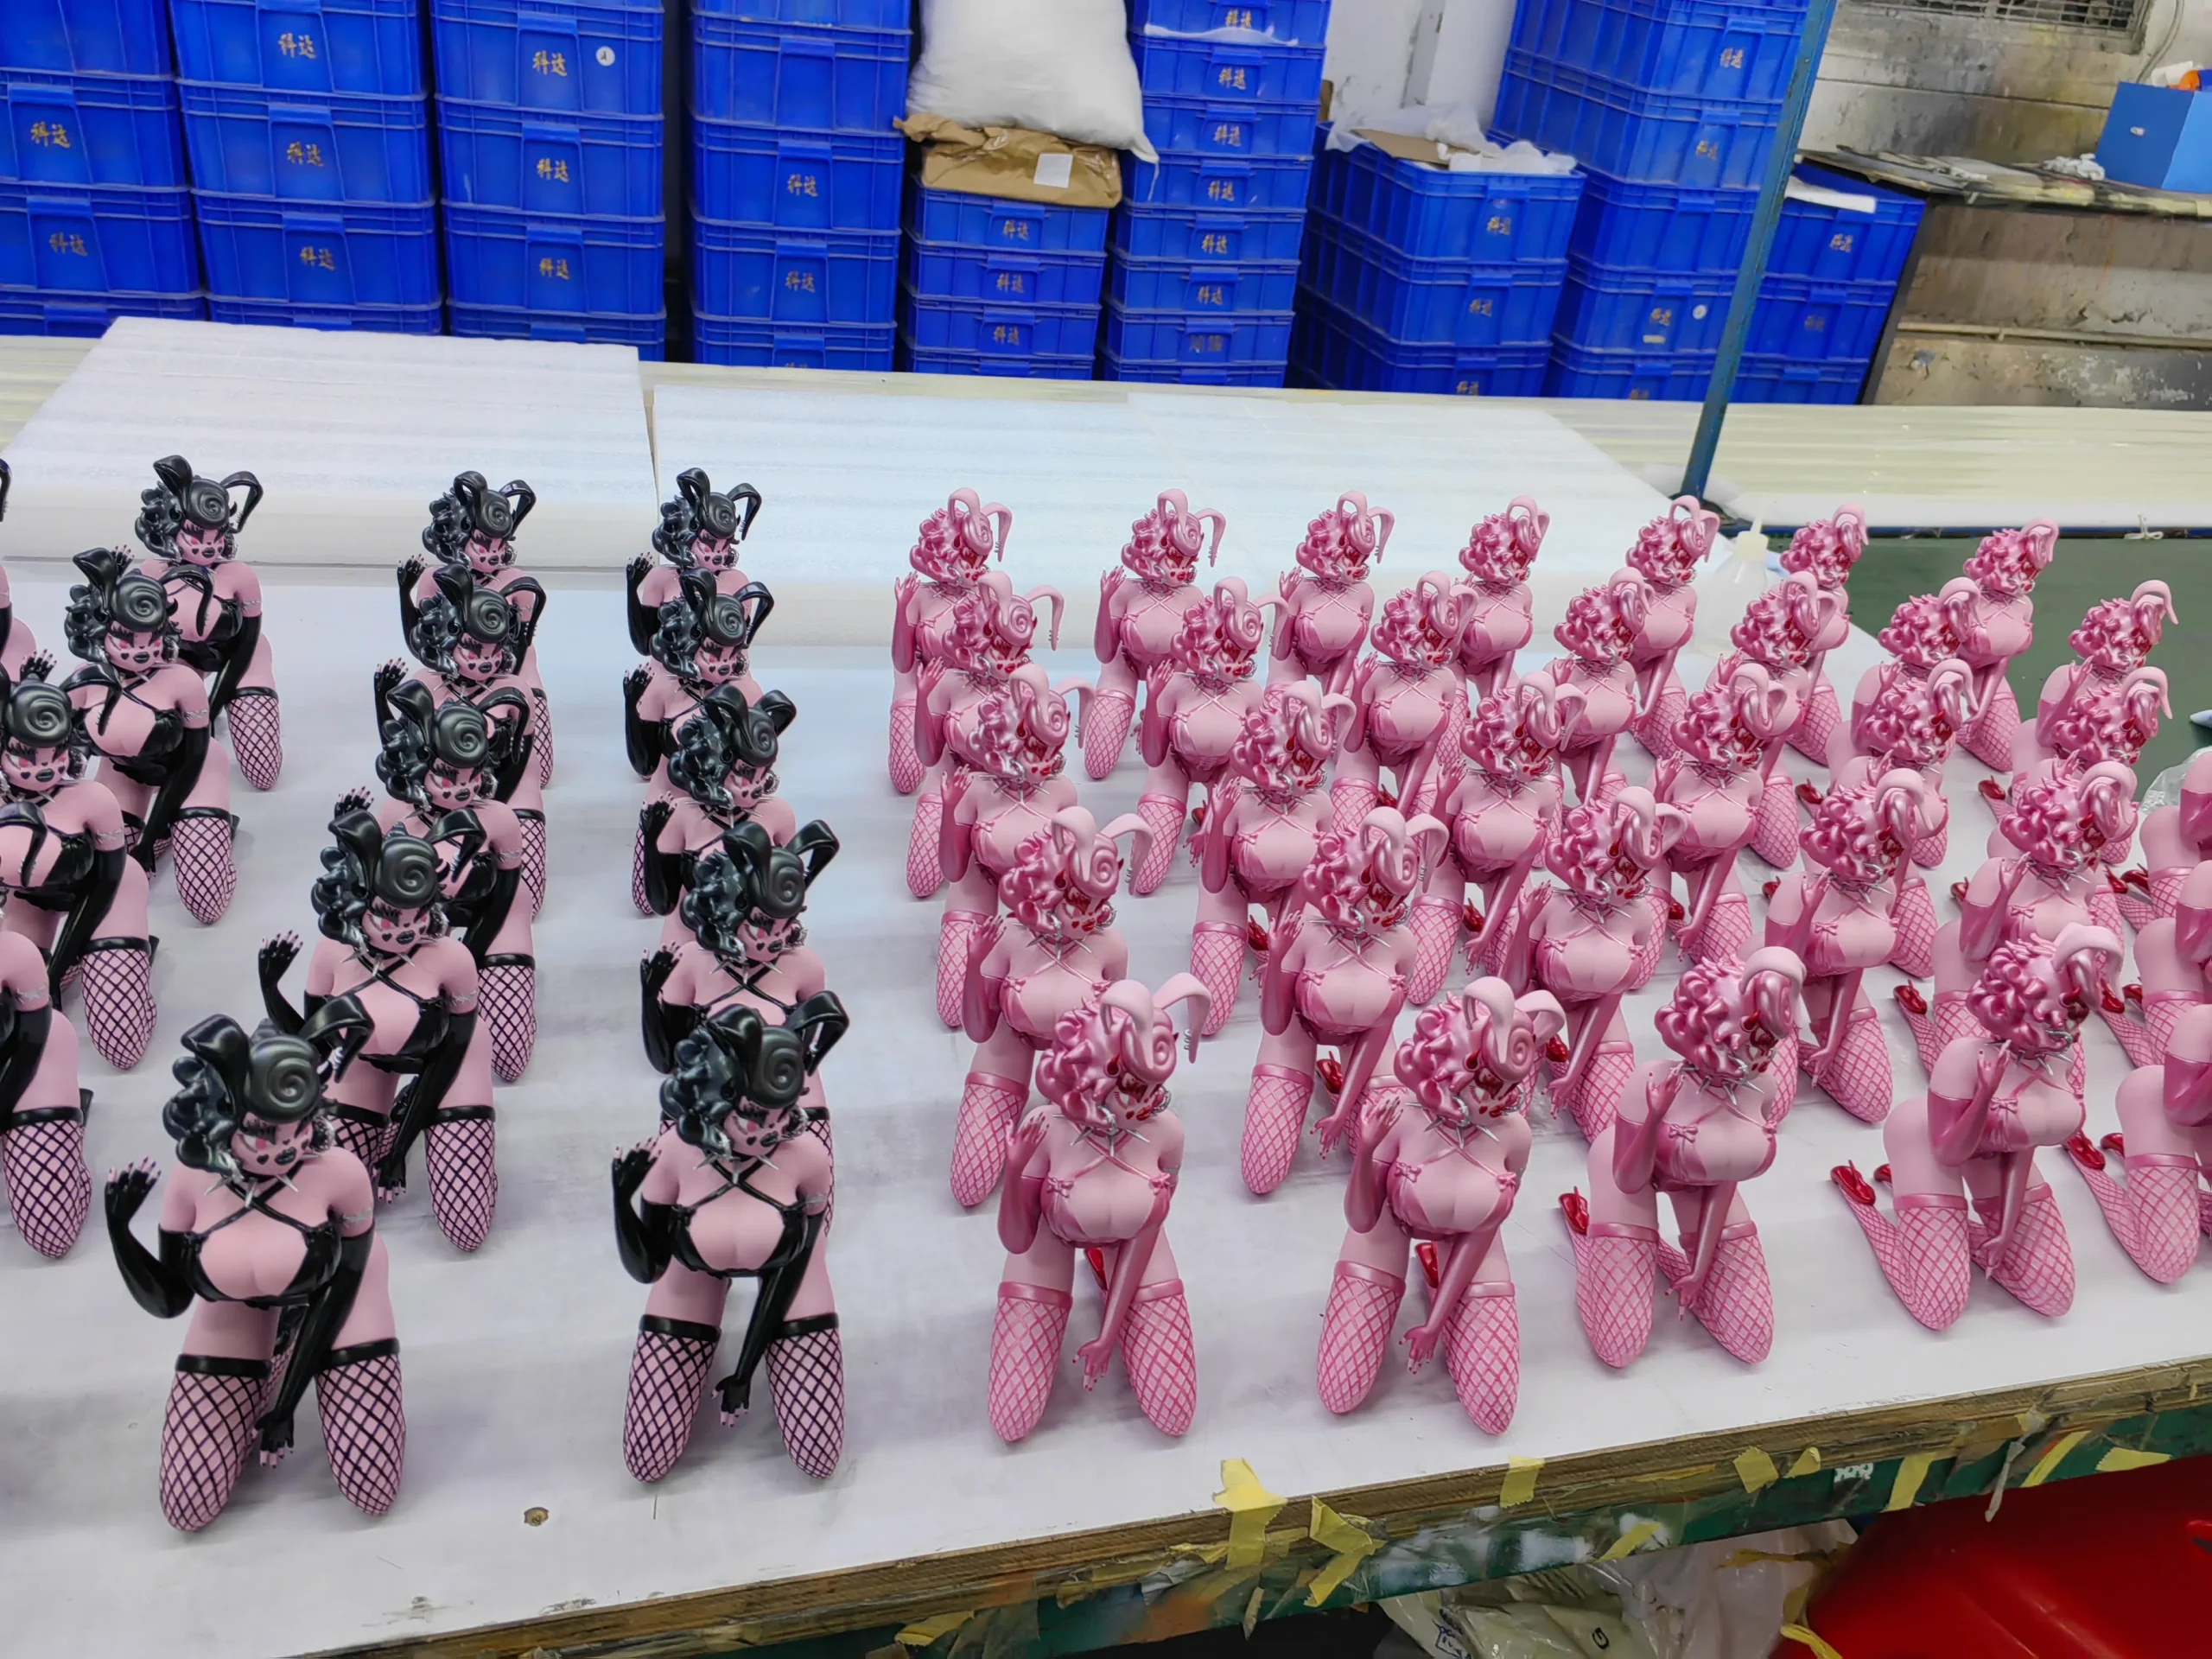

Our Vinyl Toy MOQ is 100pcs, making it accessible for independent designers and small businesses.
Yes, we provide custom vinyl toy packaging solutions, including design and production, ensuring your figures are retail-ready upon delivery.
We provide regular updates during vinyl toy production, including pictures or videos of prototyping, mass production, painting, and packaging stages.
Simply contact us with your design concept and project details. Our team will guide you through the process, from initial consultation to final delivery.
We prefer 3D files in formats such as STL or OBJ. If you have a 2D design, we can assist in converting it to a 3D model for an additional fee.
Absolutely. We use Pantone color matching to ensure your vinyl figures are produced in your exact brand or design colors.
We conduct strict quality checks at every stage of vinyl toy production, from prototyping to final inspection, to meet your specifications and expectations.